Phase 4 - Turrets and fixing holes
The plate is fixed with four anchorage points: two at the rear of the vehicle (on the standard plates installed on both sides of the engine) and two points at the front. For this purpose, we will have made two small brackets that are screwed to two of the differential cover bolts (see part 5 after this step 4).
Although in phase 2 I talked to you about the drills, in this one I will comment again on the subject.
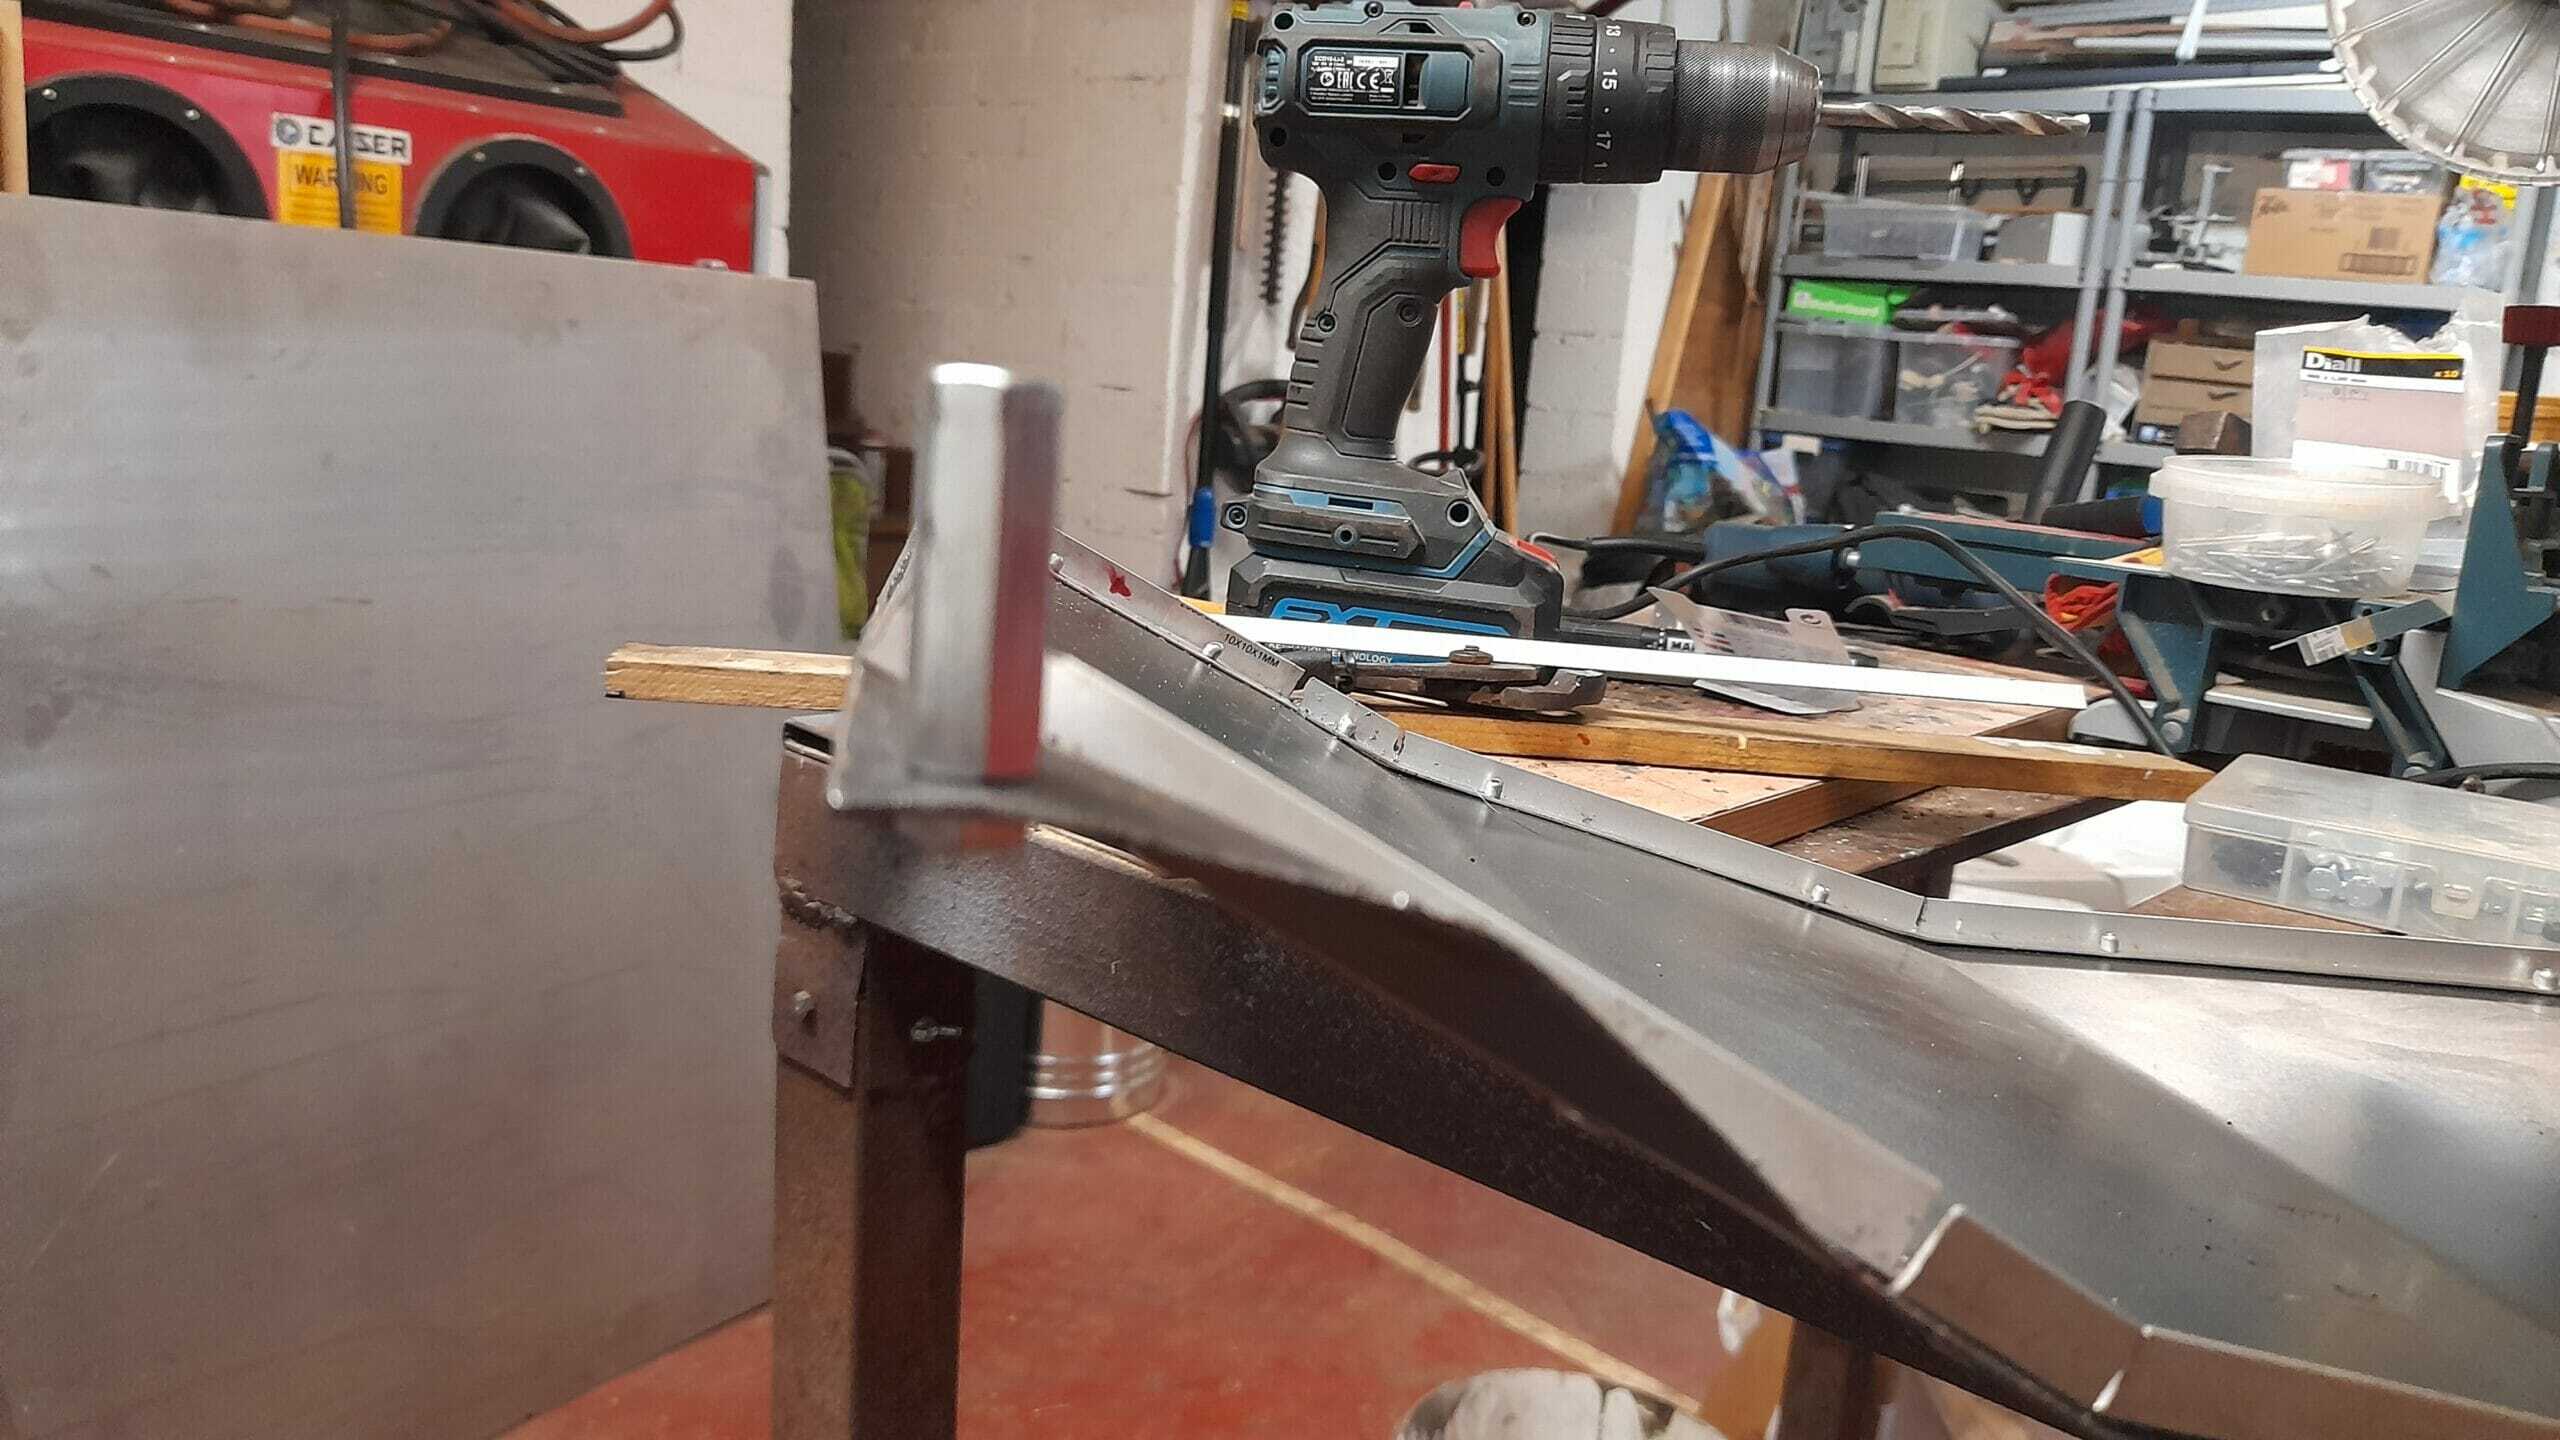
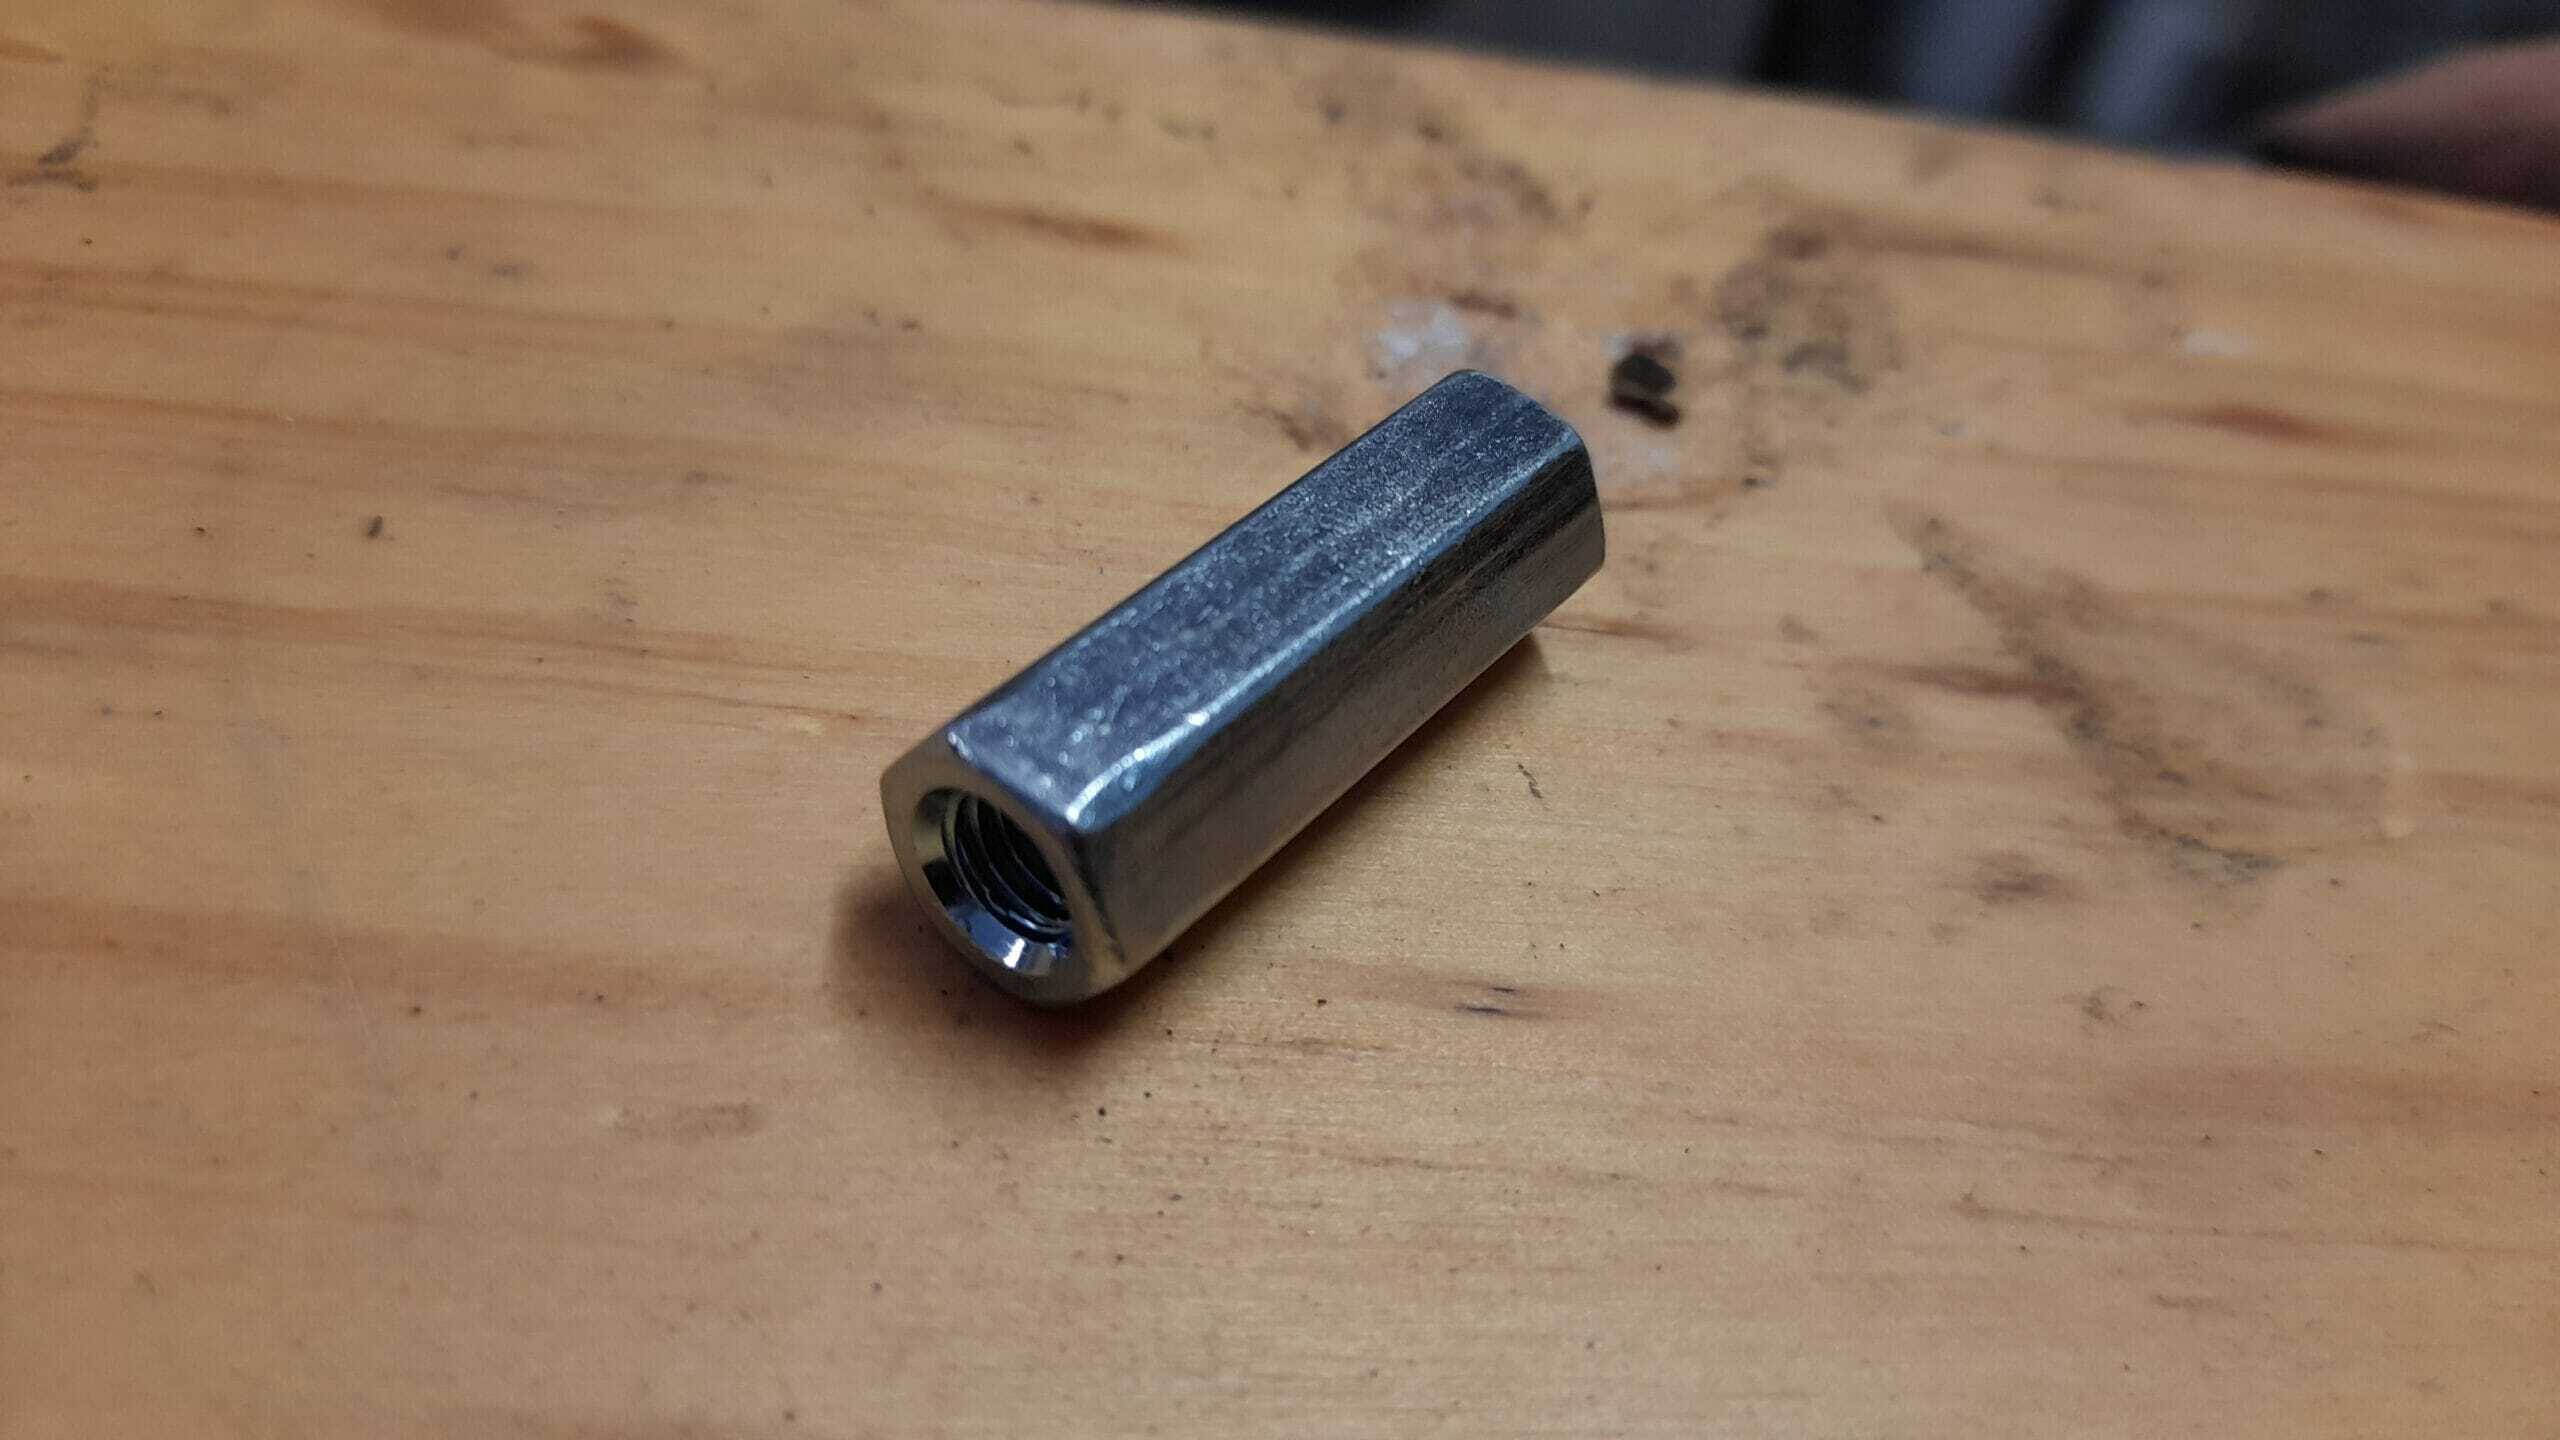
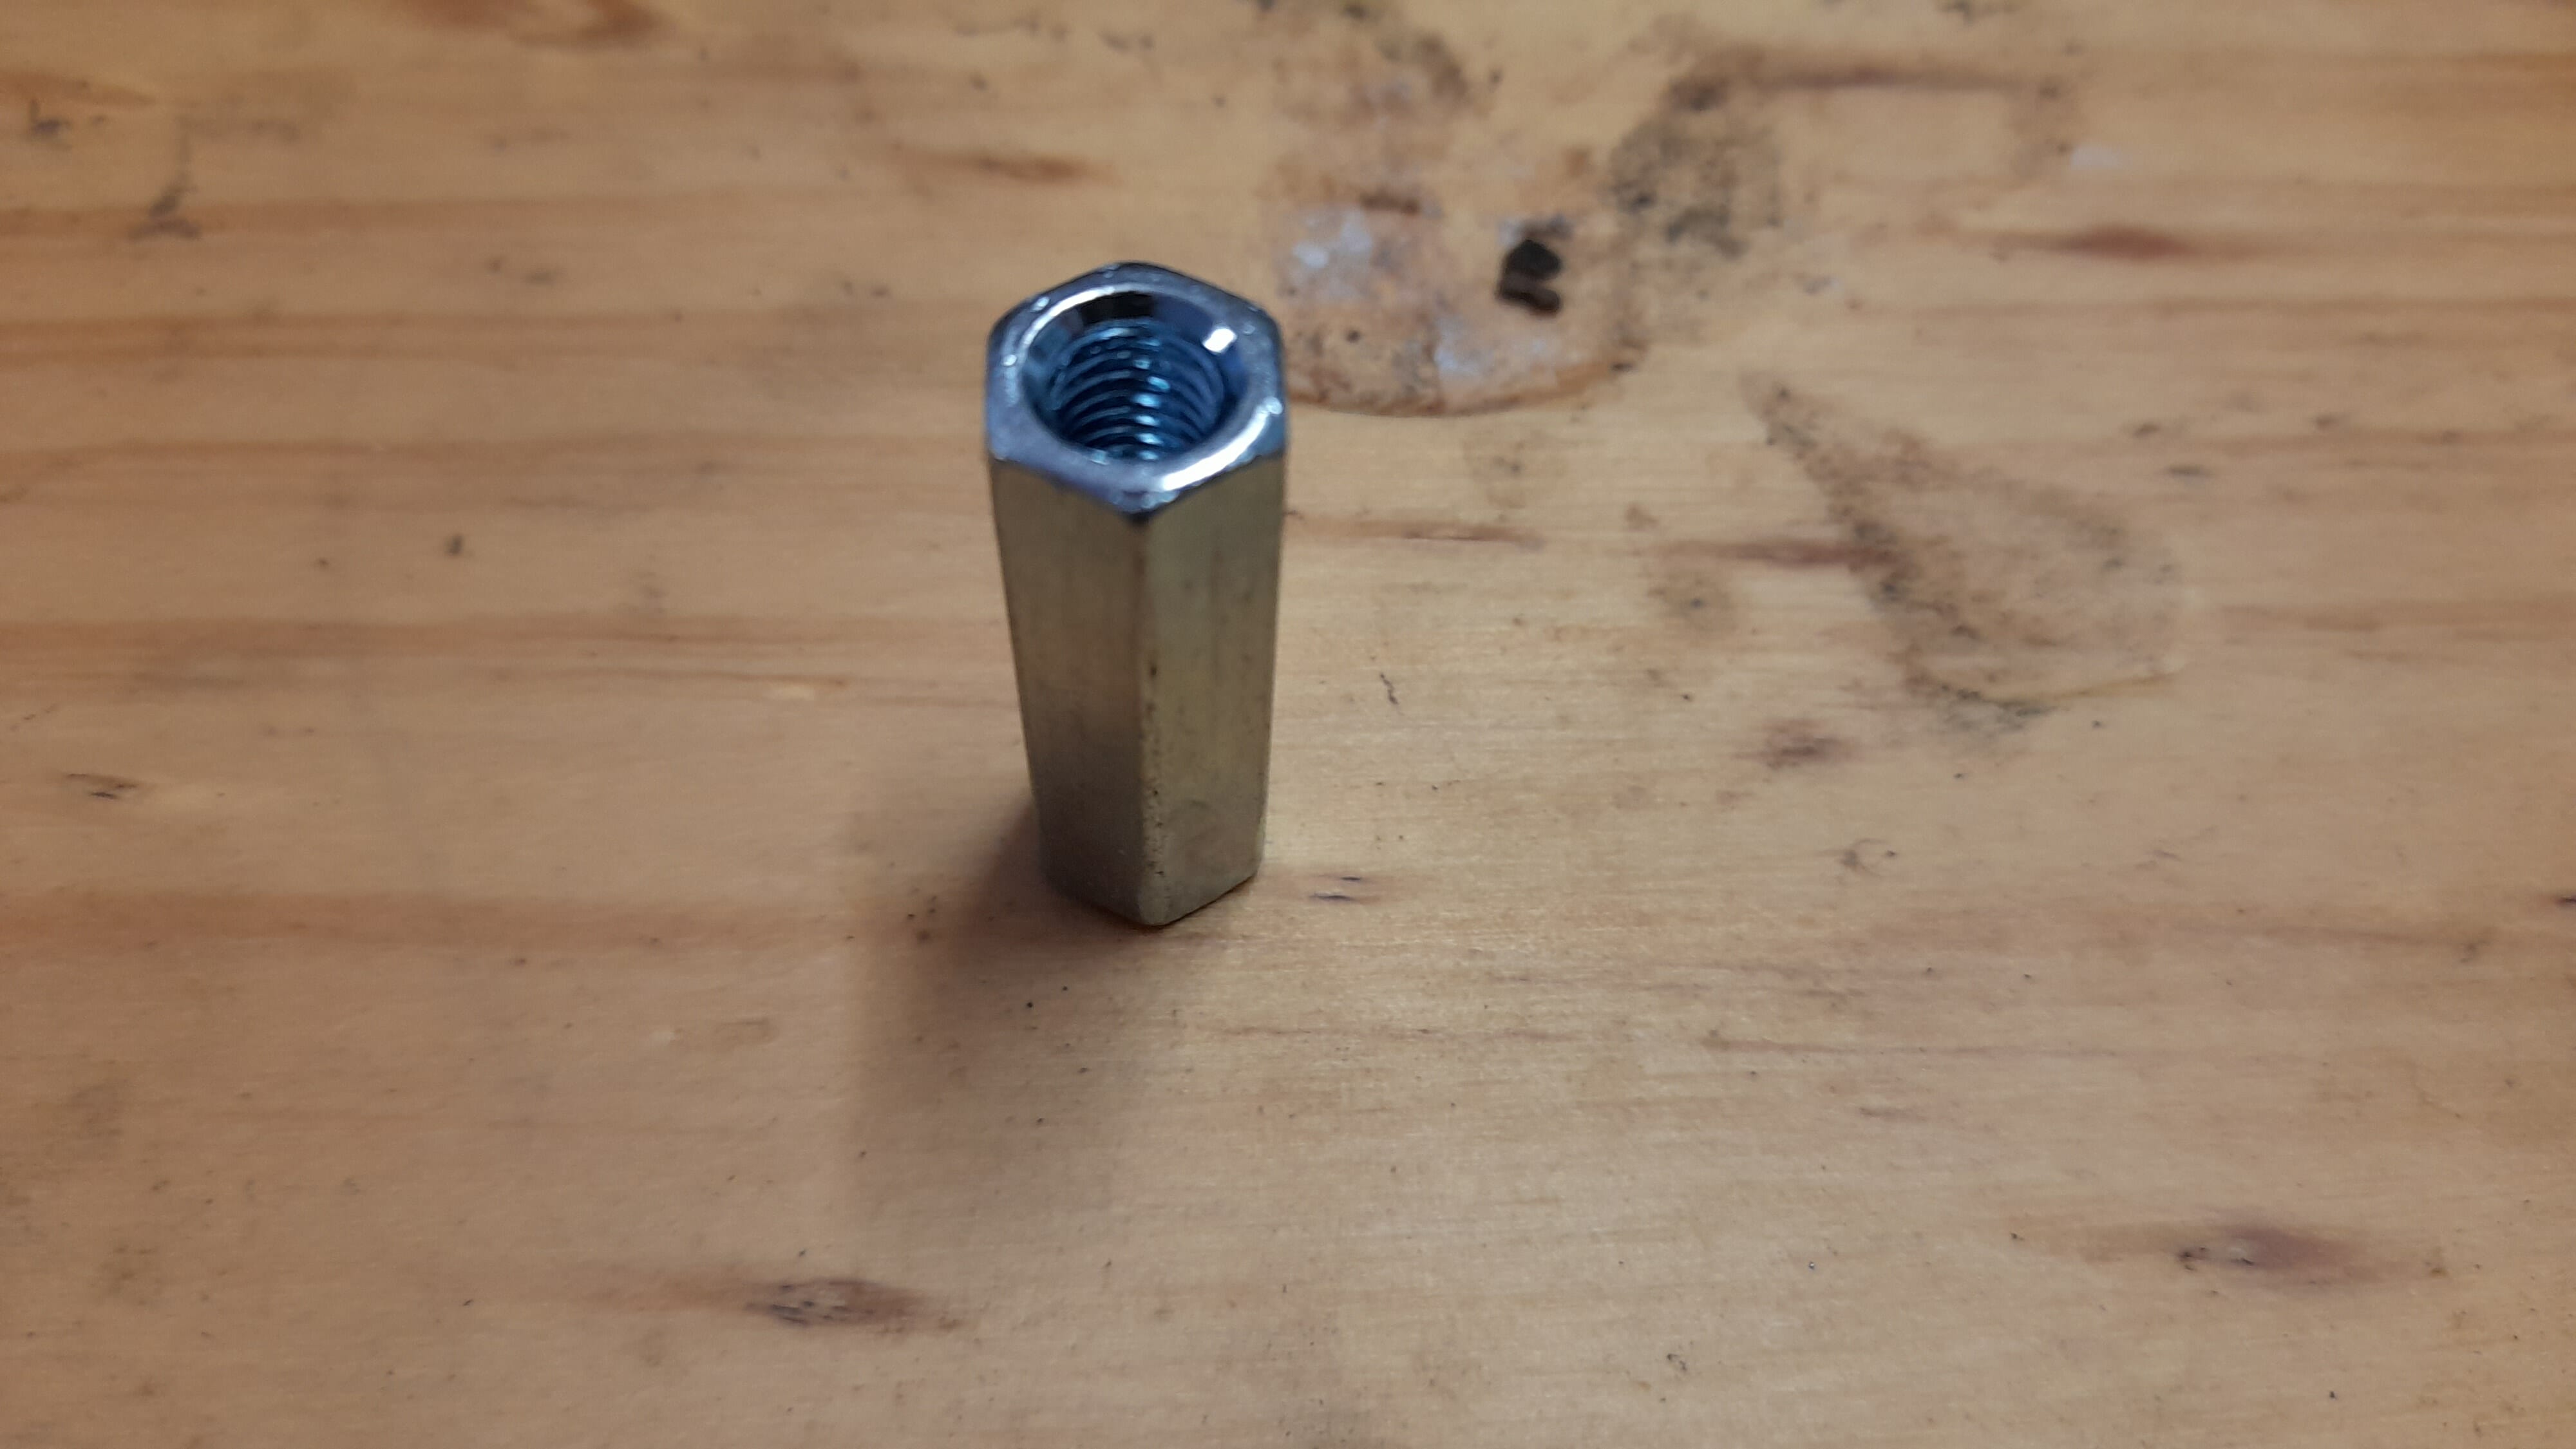
For the back of the plate and as I said, to adapt to the shape of the underbody, we have used some threaded “turrets” that separate it slightly from the fixing point. They are Metric 6 H thread and 30mm high. In my case, I have used hexagonal turrets to make them easier to work with when threading, but you can use round if you want (they are also available on the market).
Photo gallery phase 4
This is the image gallery of the fastening elements phase. You can click on each of the photos to see the description. As always, if you have any questions or doubts, you can contact us and we will be happy to answer and help you.
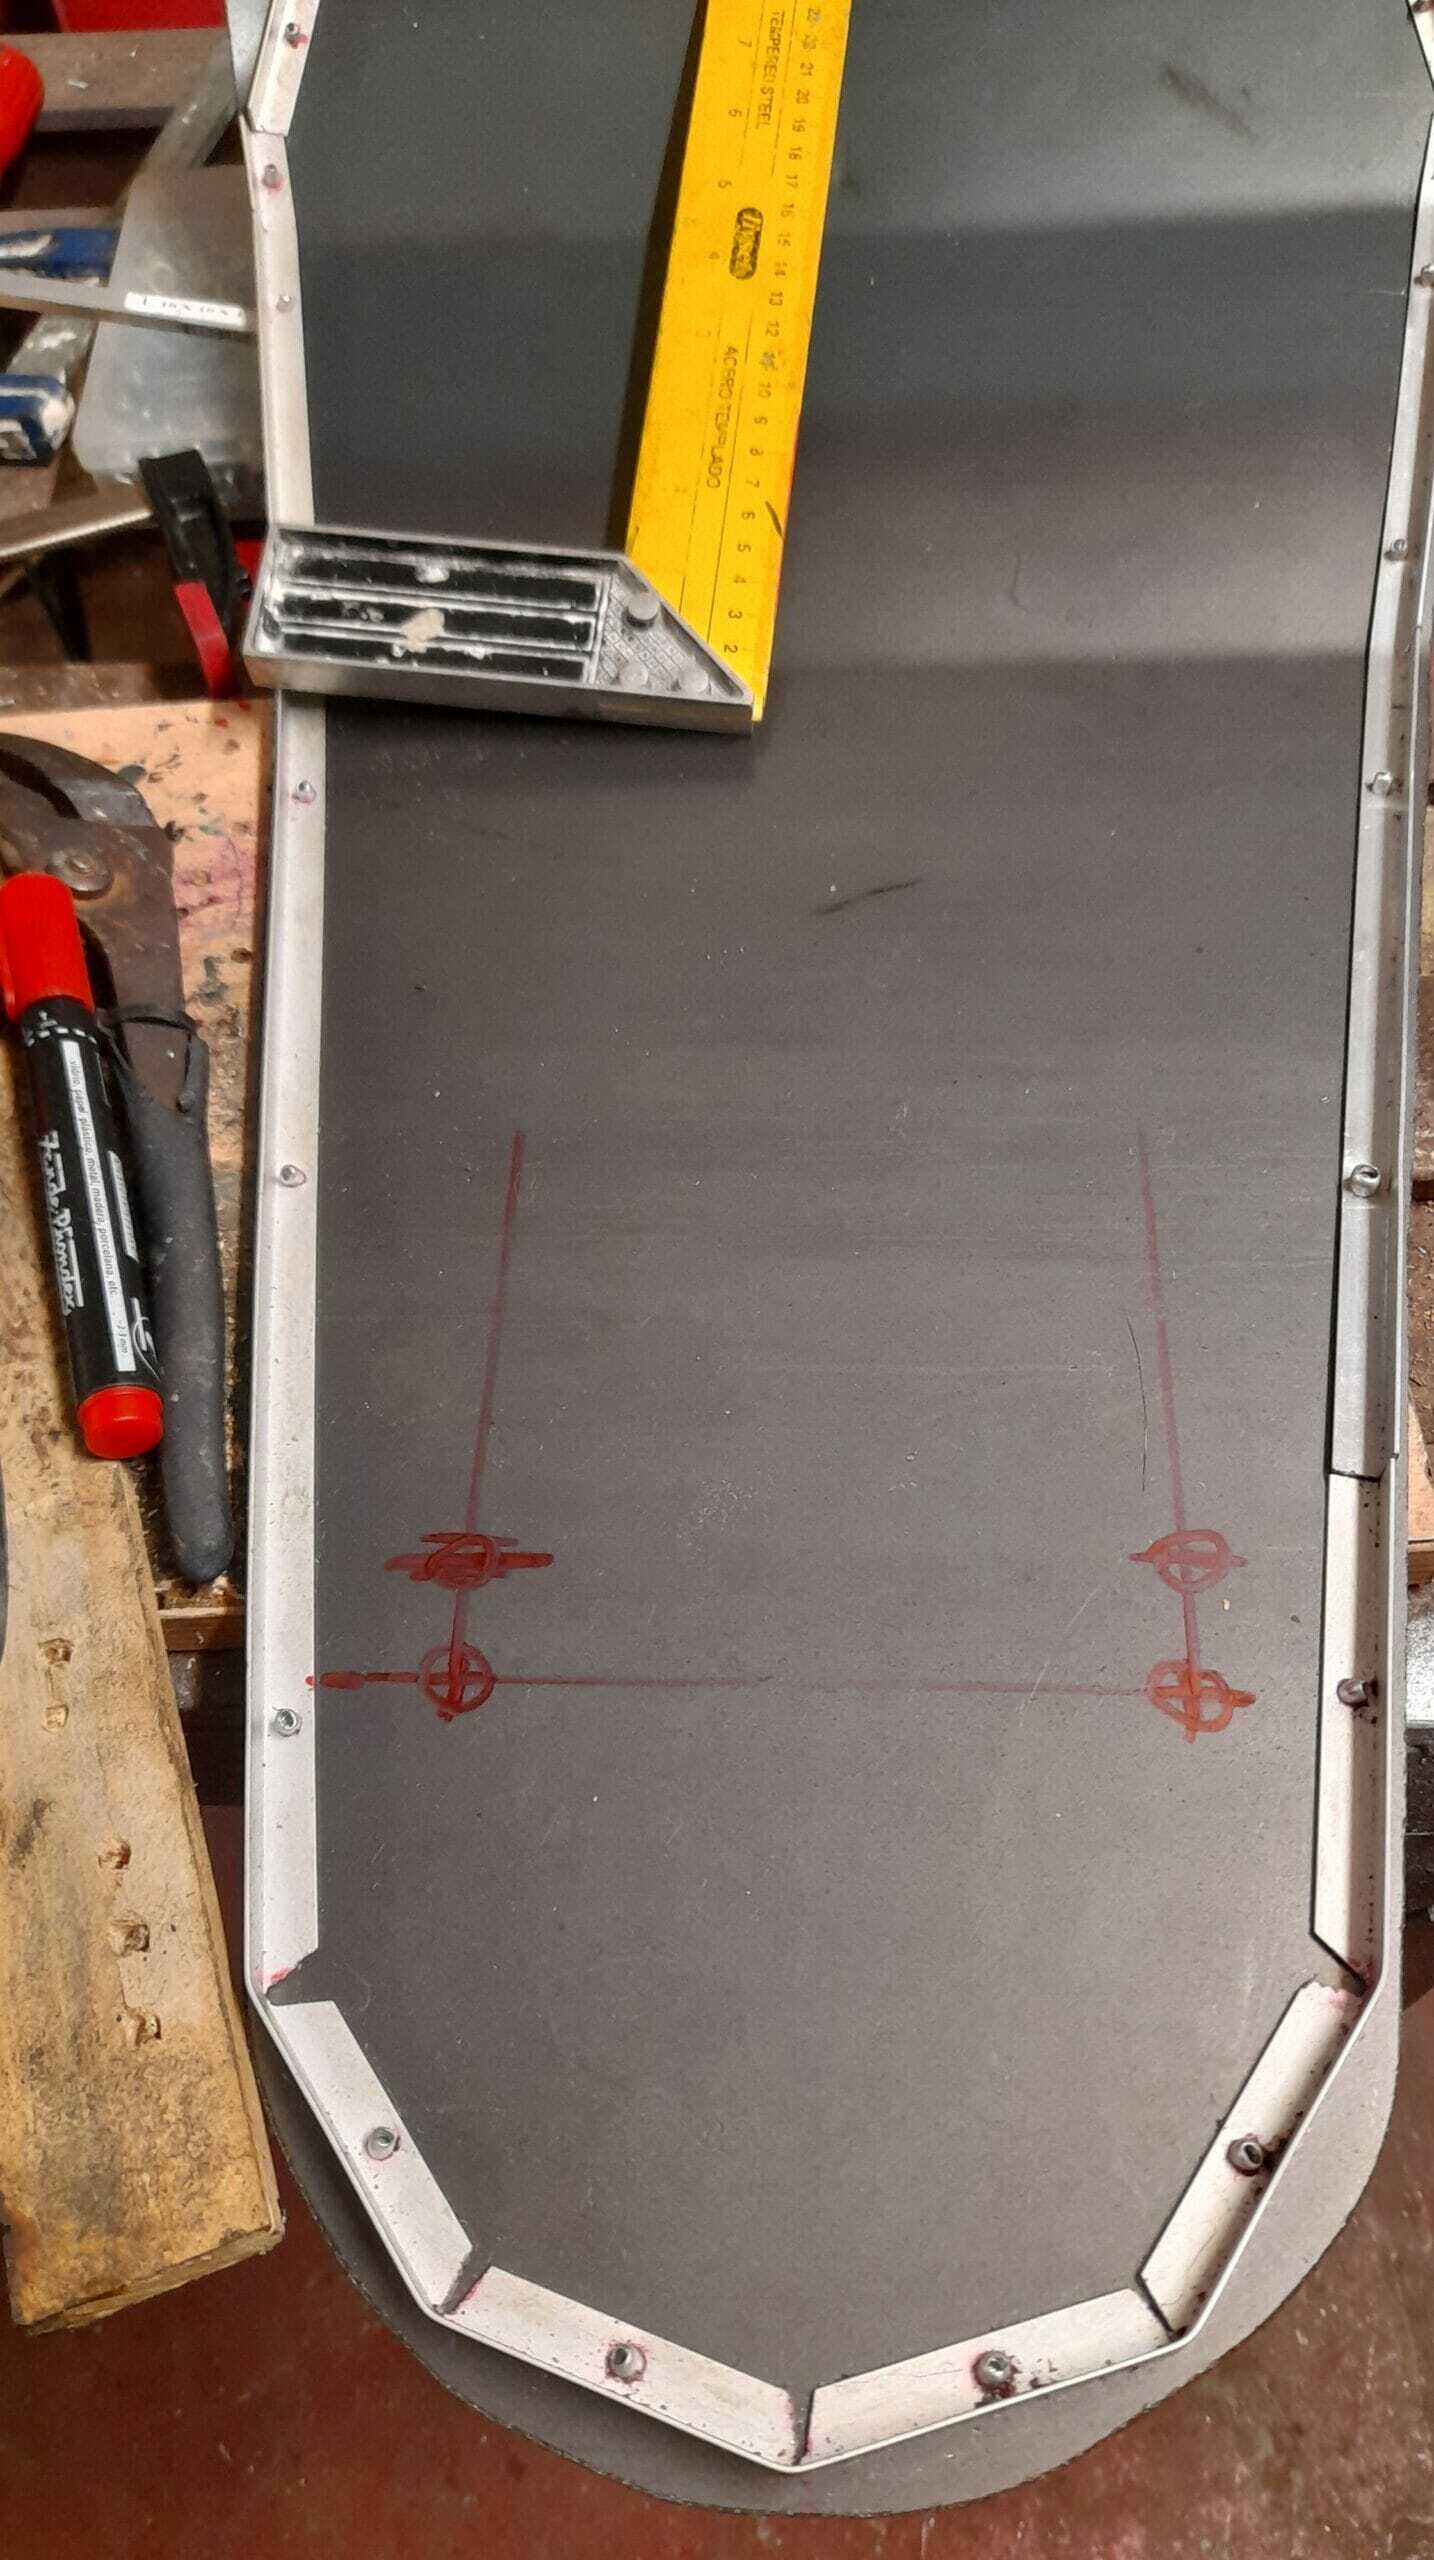
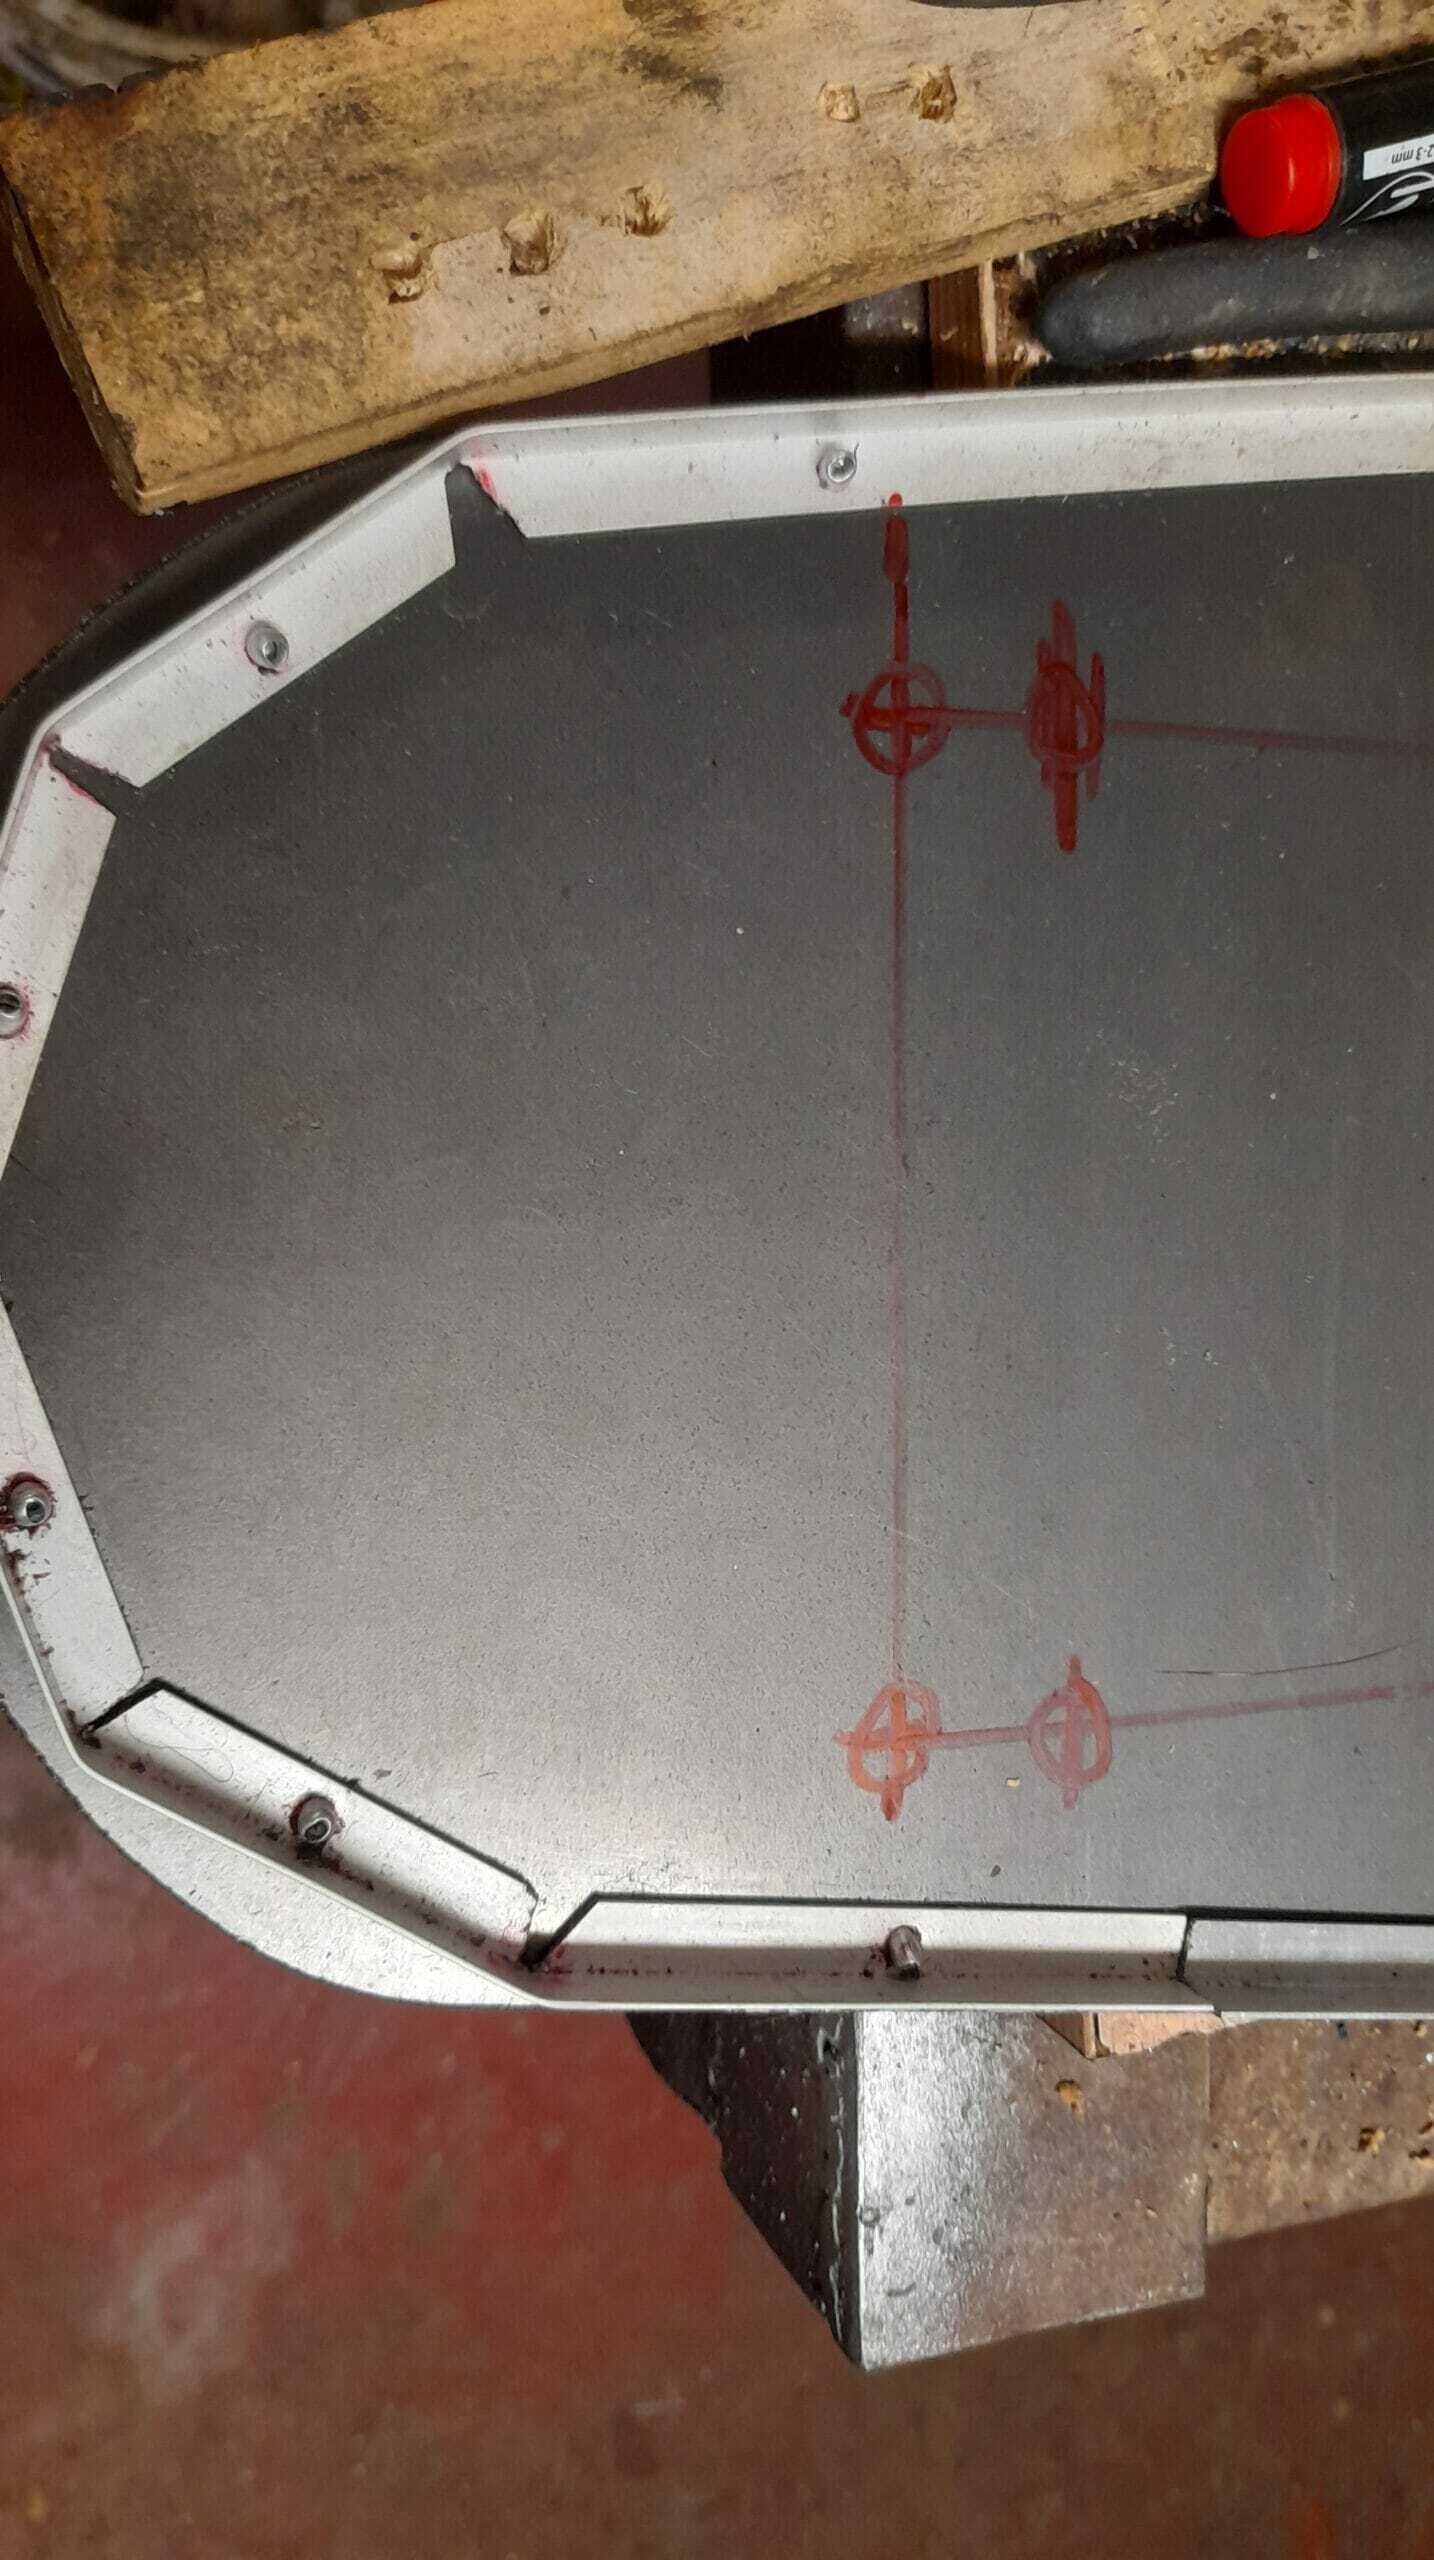
Location of drill holes
To know where the holes go (according to this design) you can use the template with the dimensions that I give you in the “phase zero” section.
phase zero
“of this post (see
here
). The screws used are metric 6, but I suggest you drill 8 mm holes. This will give you a margin for adjustment (remember that globally all machining is manual, so no matter how much care you want to put into the measurements, a margin of error of a certain amplitude is necessary.