Phase 5 - Painting: priming and lacquering
In this phase of painting, we will proceed in two phases: priming and lacquering. In the
part II of the post “My classic leaks oil”, I told you about the types of paint we use
I told you about the types of paint we use and that provide excellent results ( Beissier Todo Terreno primer and Titanlak polyurethane lacquer enamel). Obviously this is just our choice, and it works very well for us, but of course, any option that works for you is more than valid. We only emphasize the recommendation that you prepare the surface with a product that guarantees adhesion to aluminum (most enamels and lacquers do NOT guarantee adhesion to aluminum so I would only suggest that you keep this point in mind).
As always, with a spray gun you will get the best results, and the spray option, although it is a quick solution, spends more paint than necessary and is more expensive than with a spray gun, although it is true that for small jobs like this and if you do not have an air compressor, it is always an option.
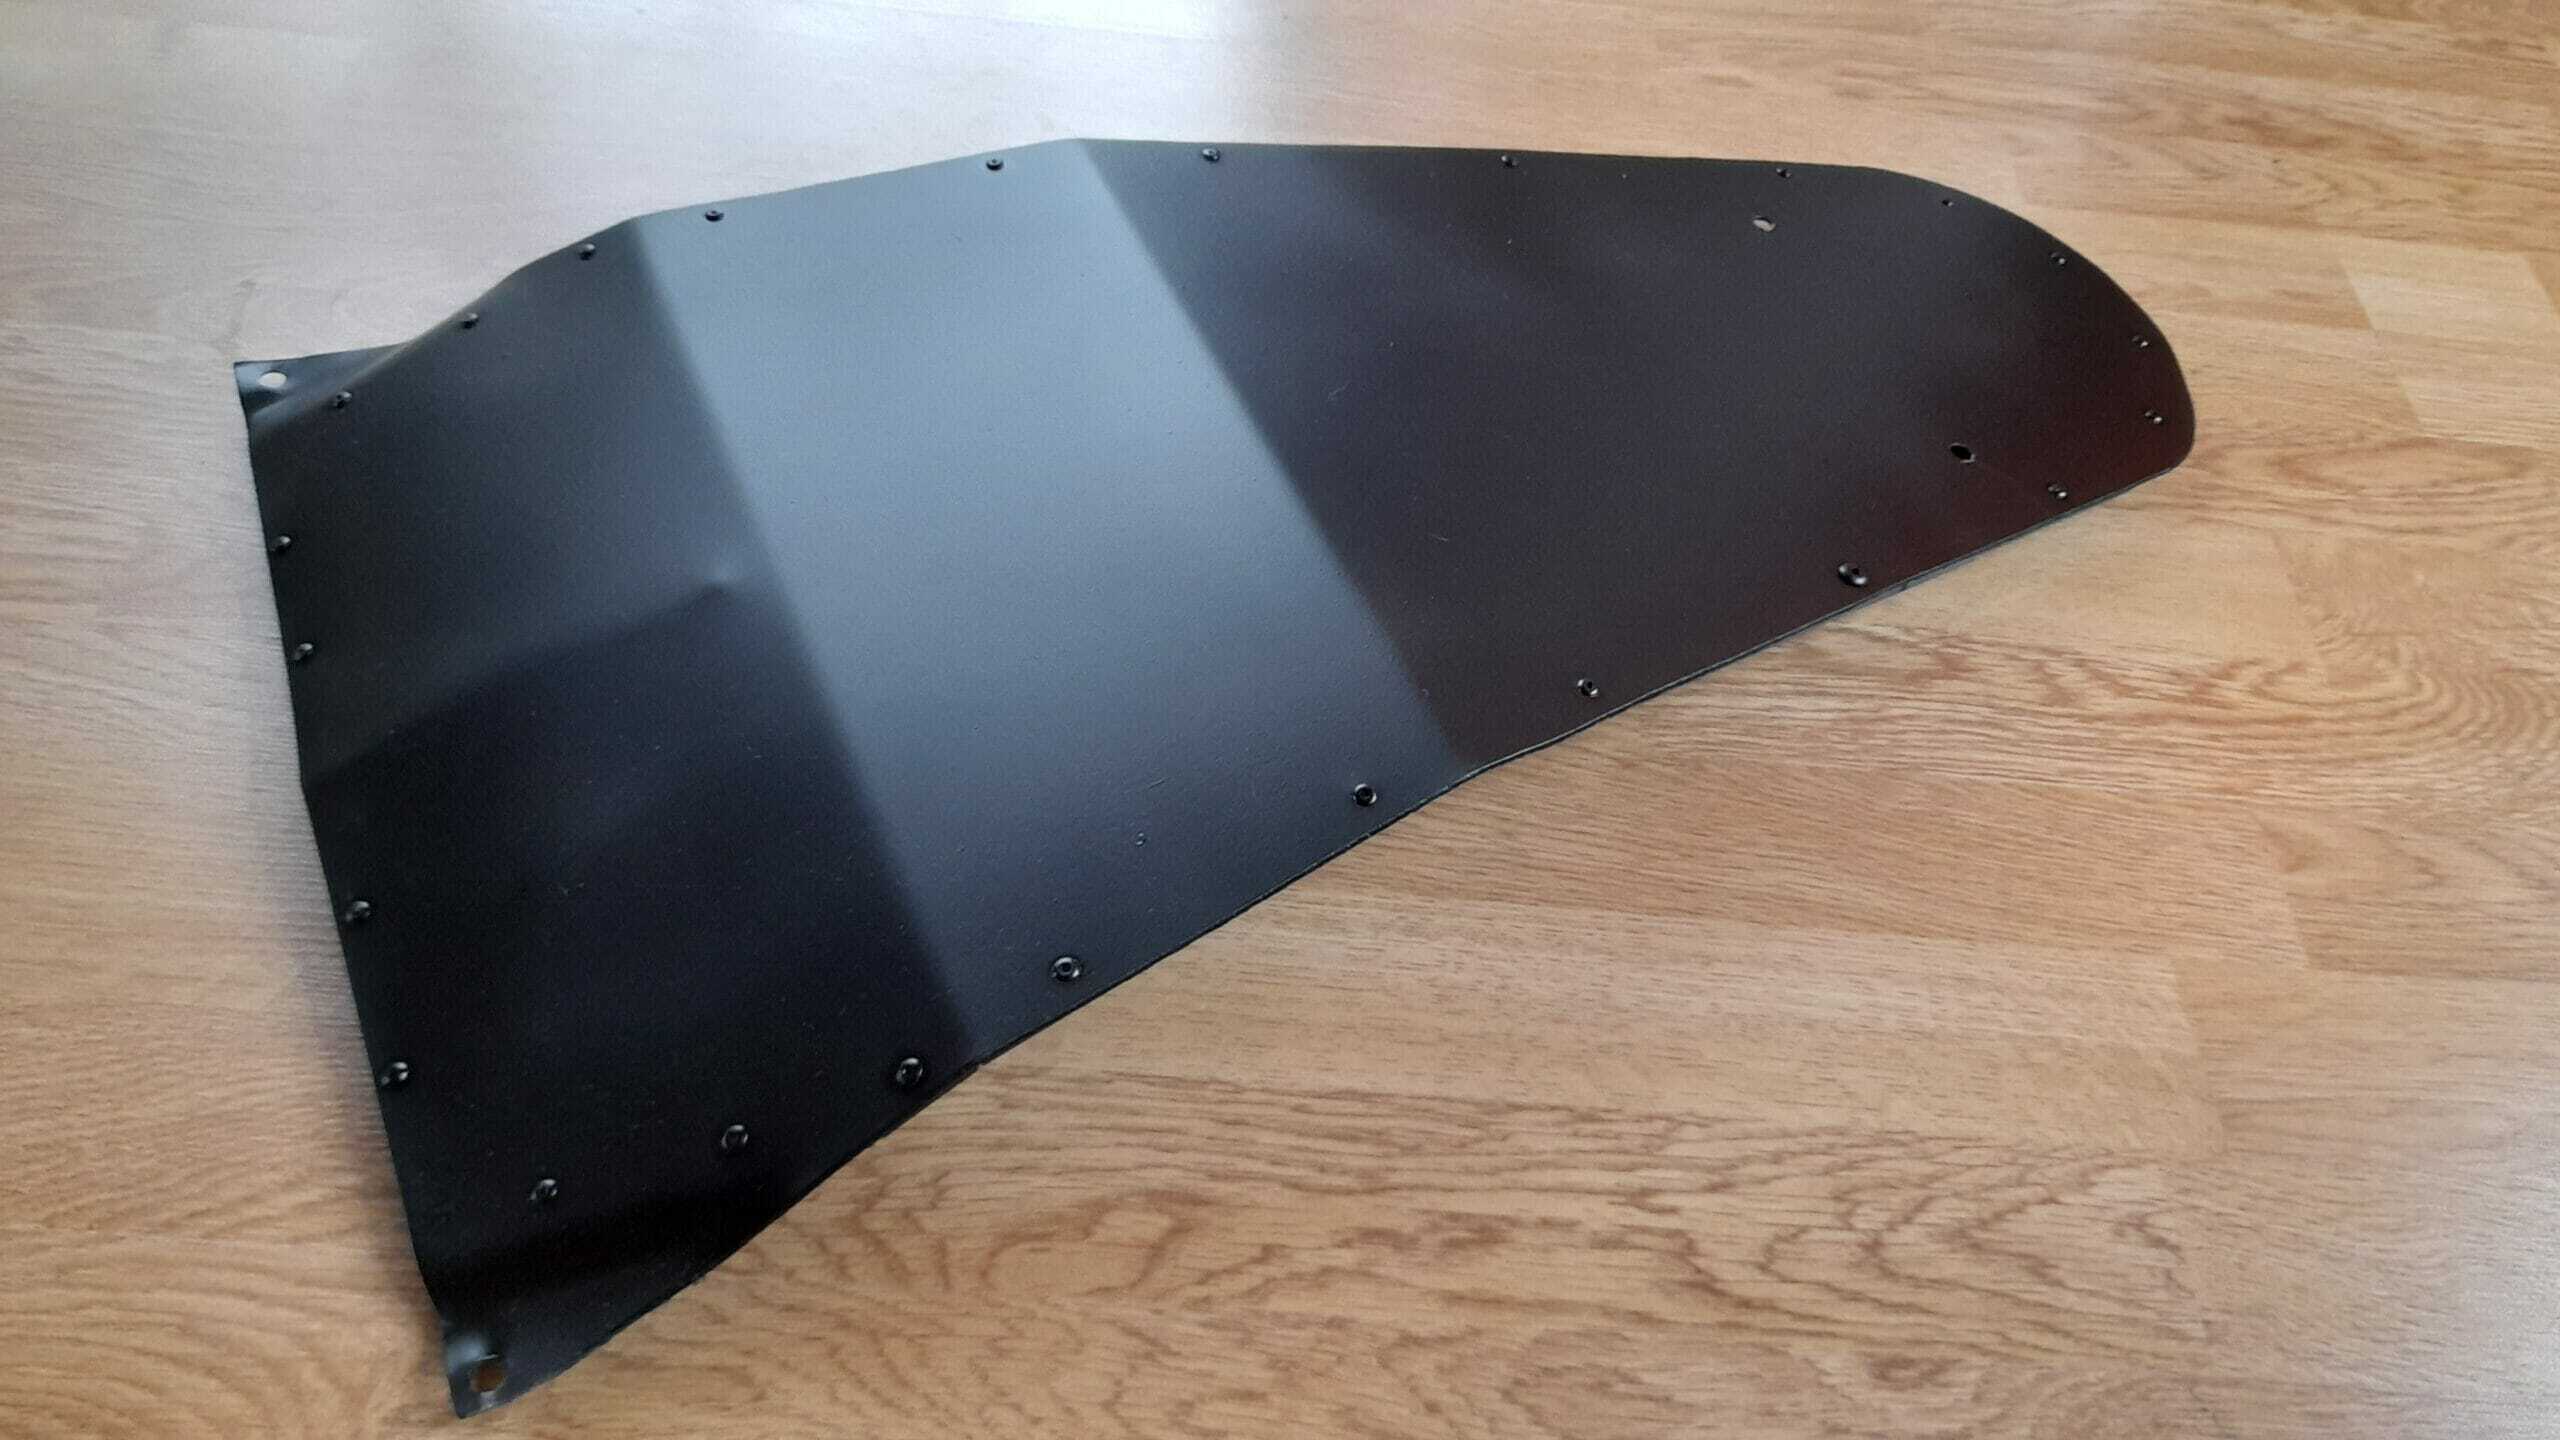
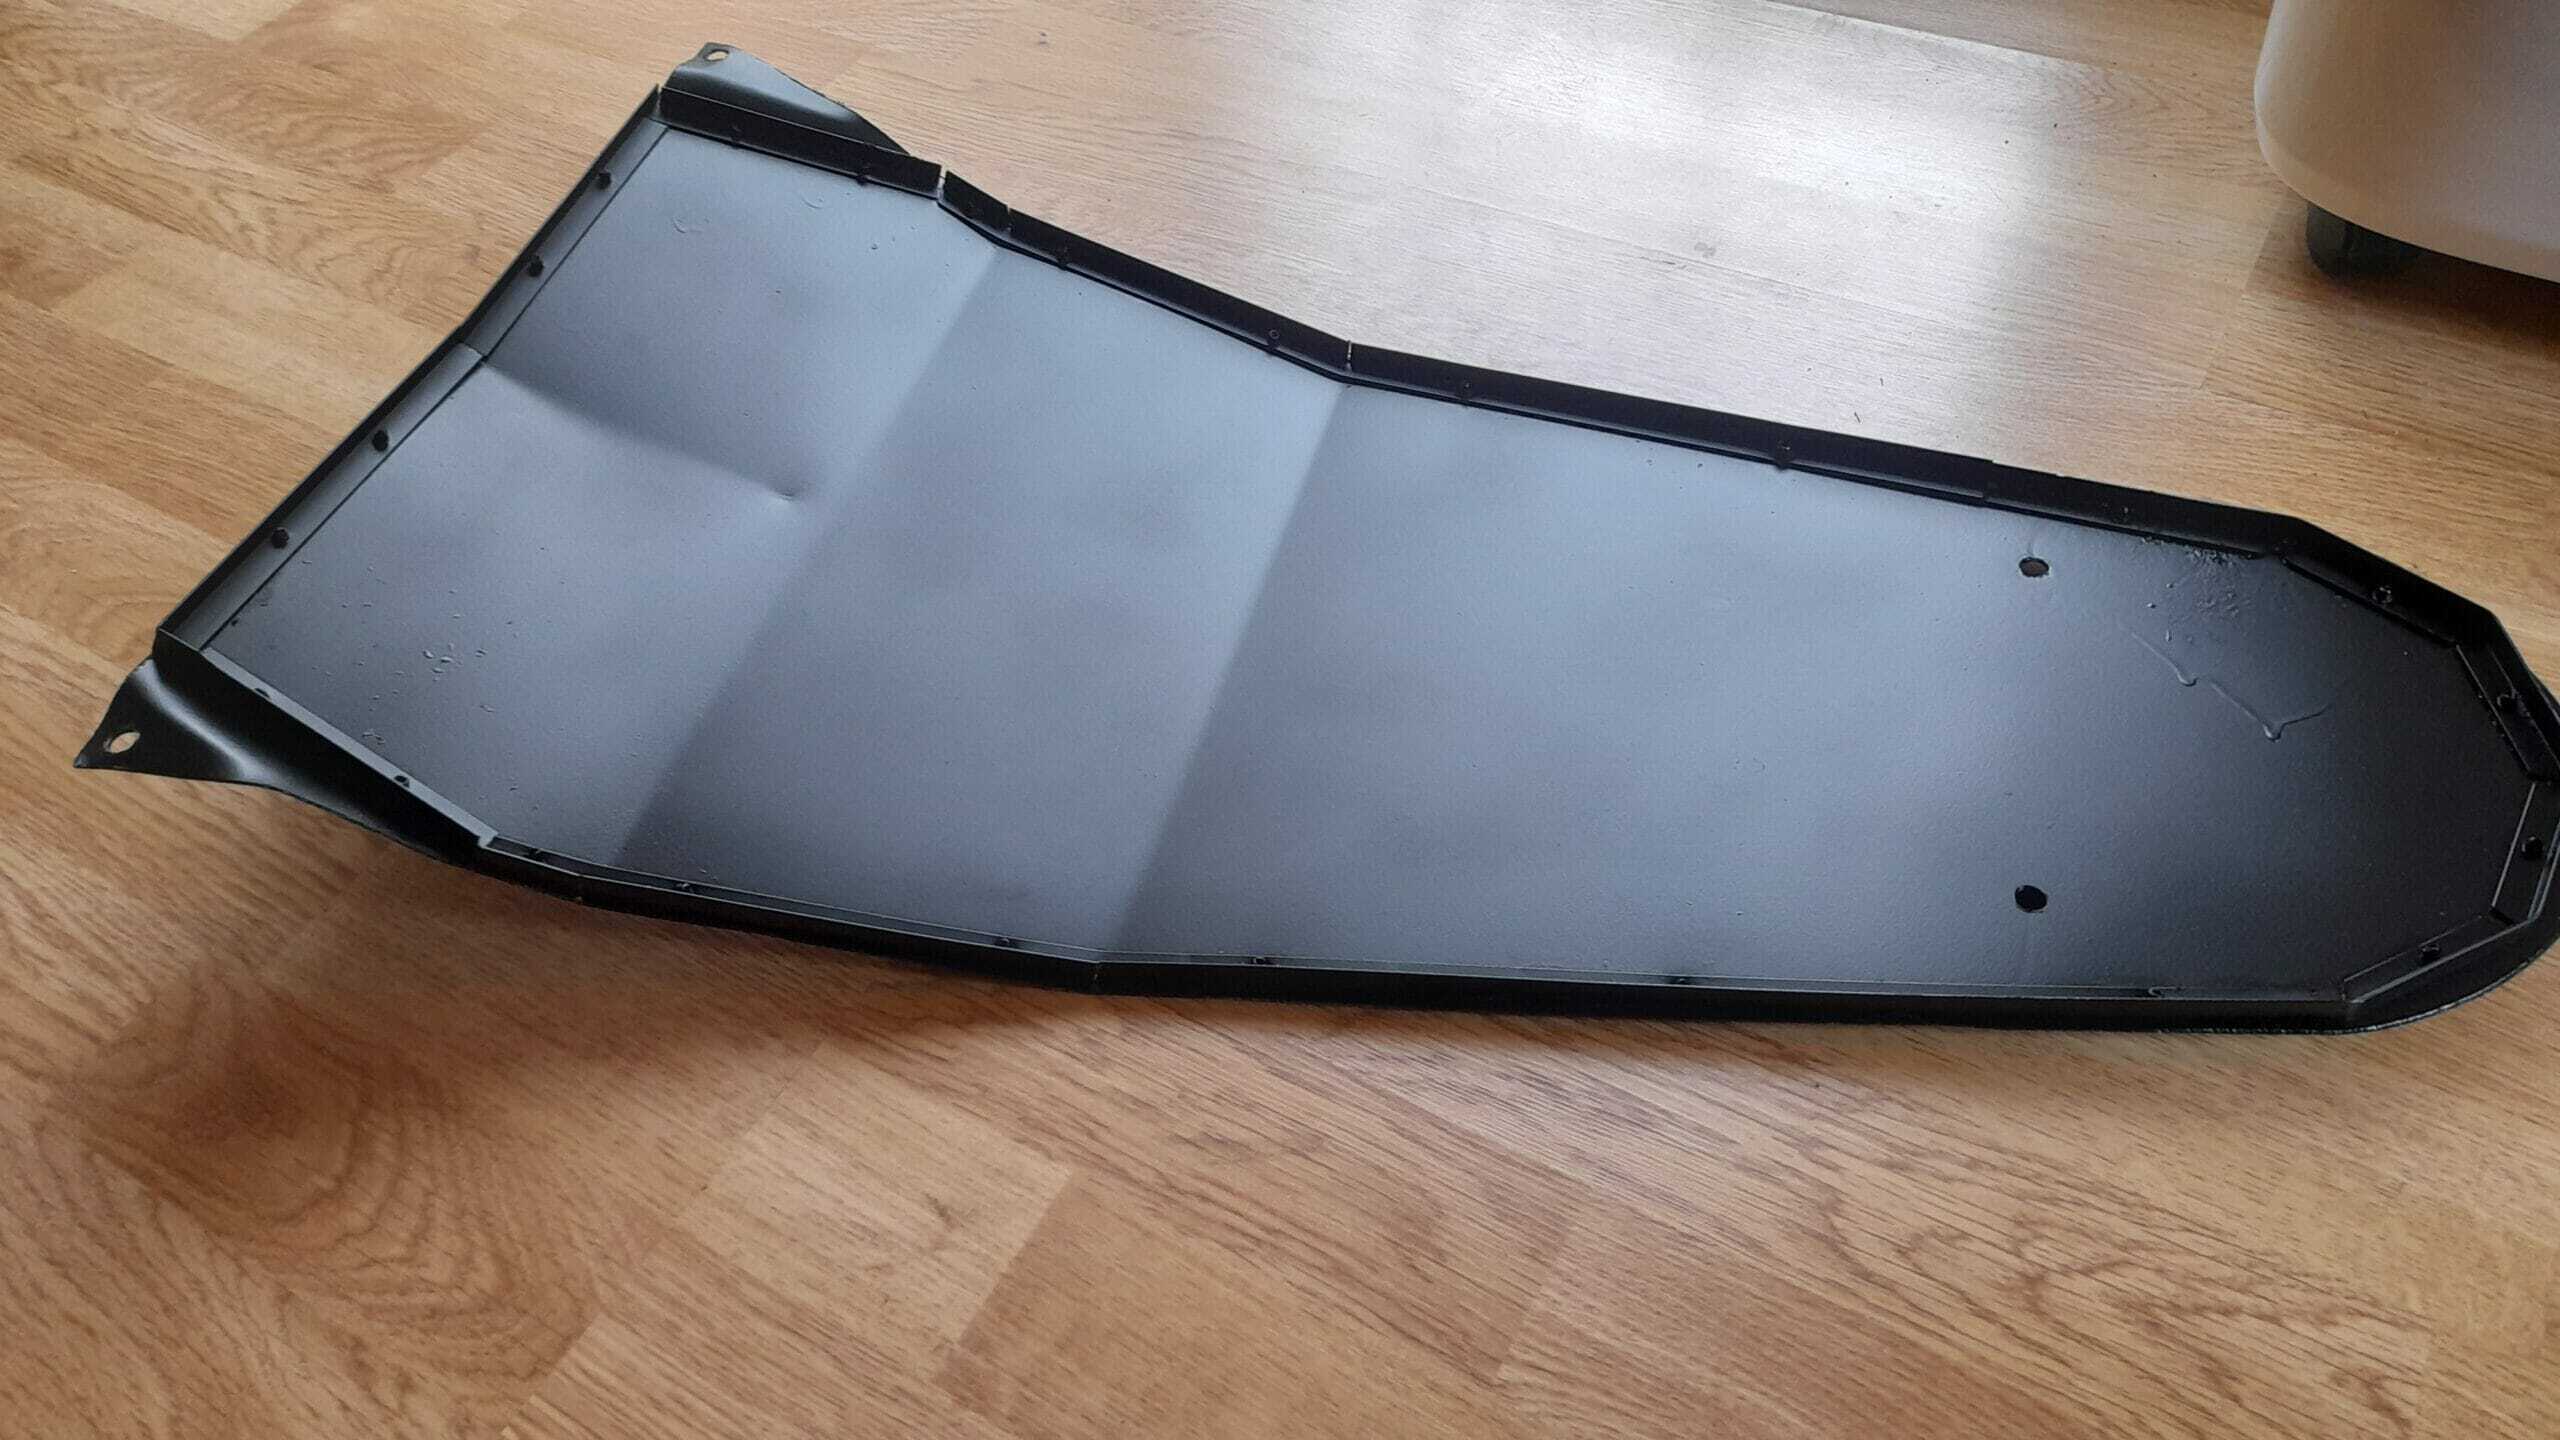
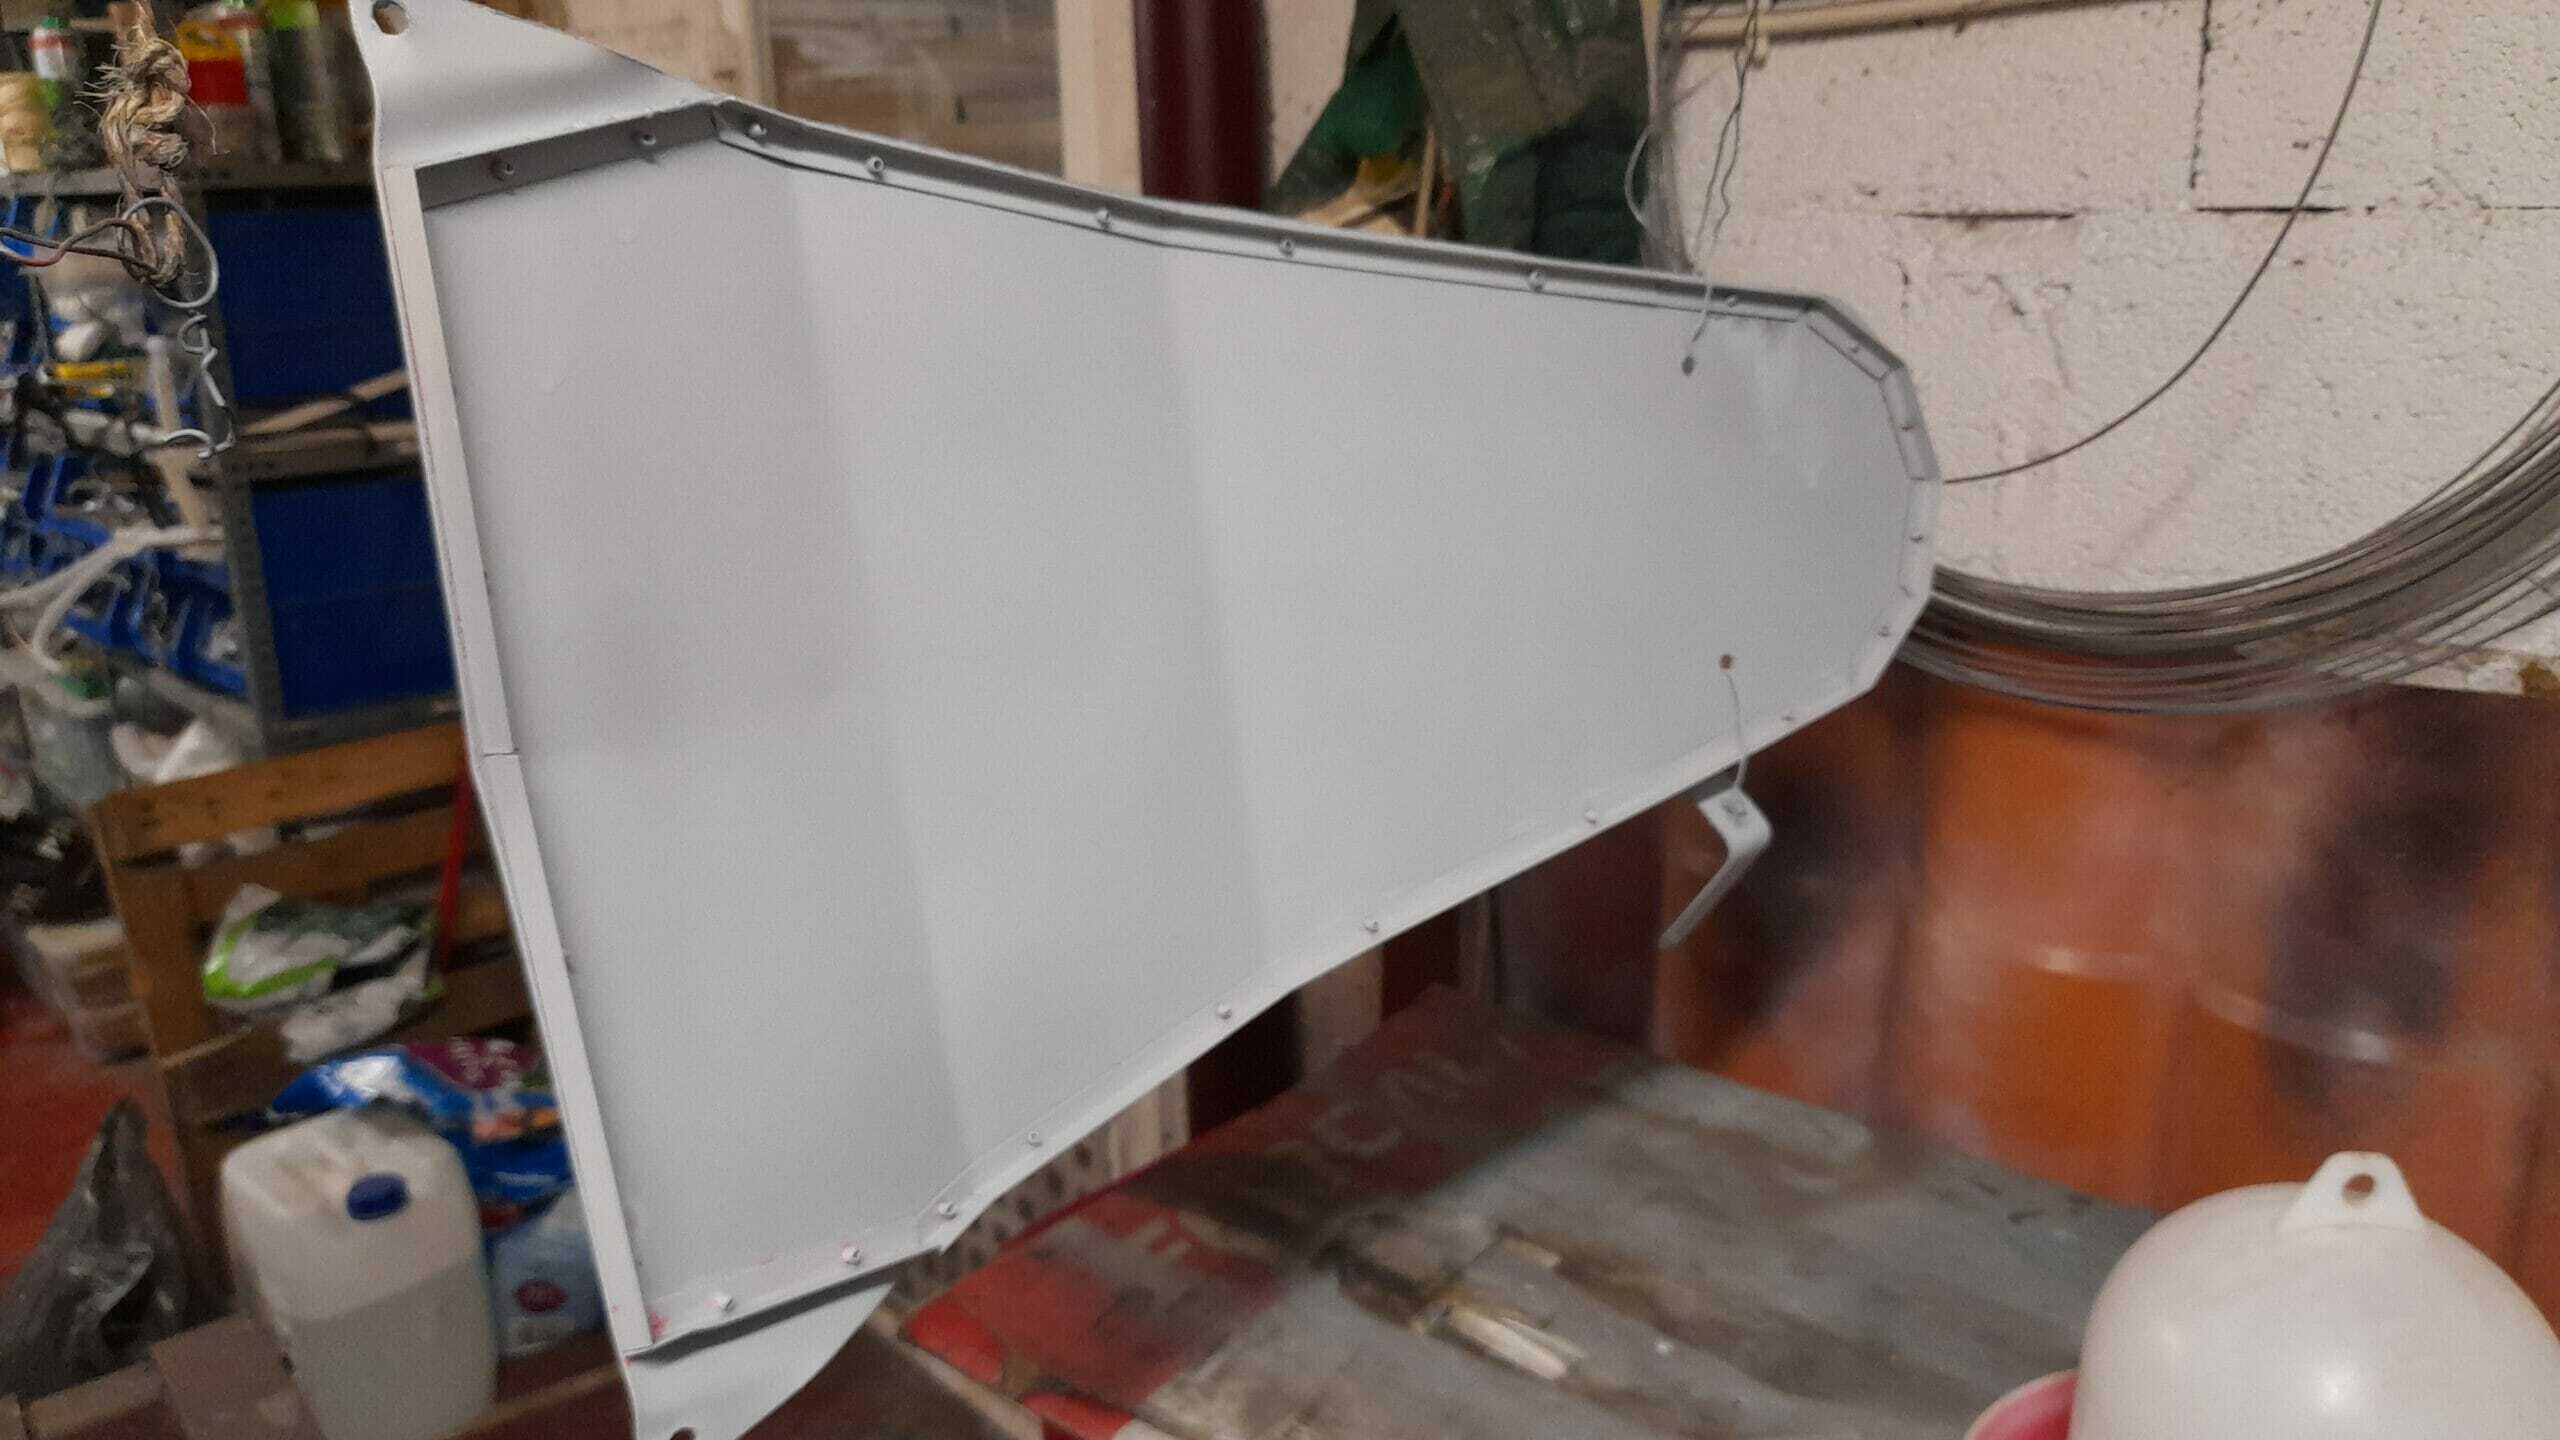
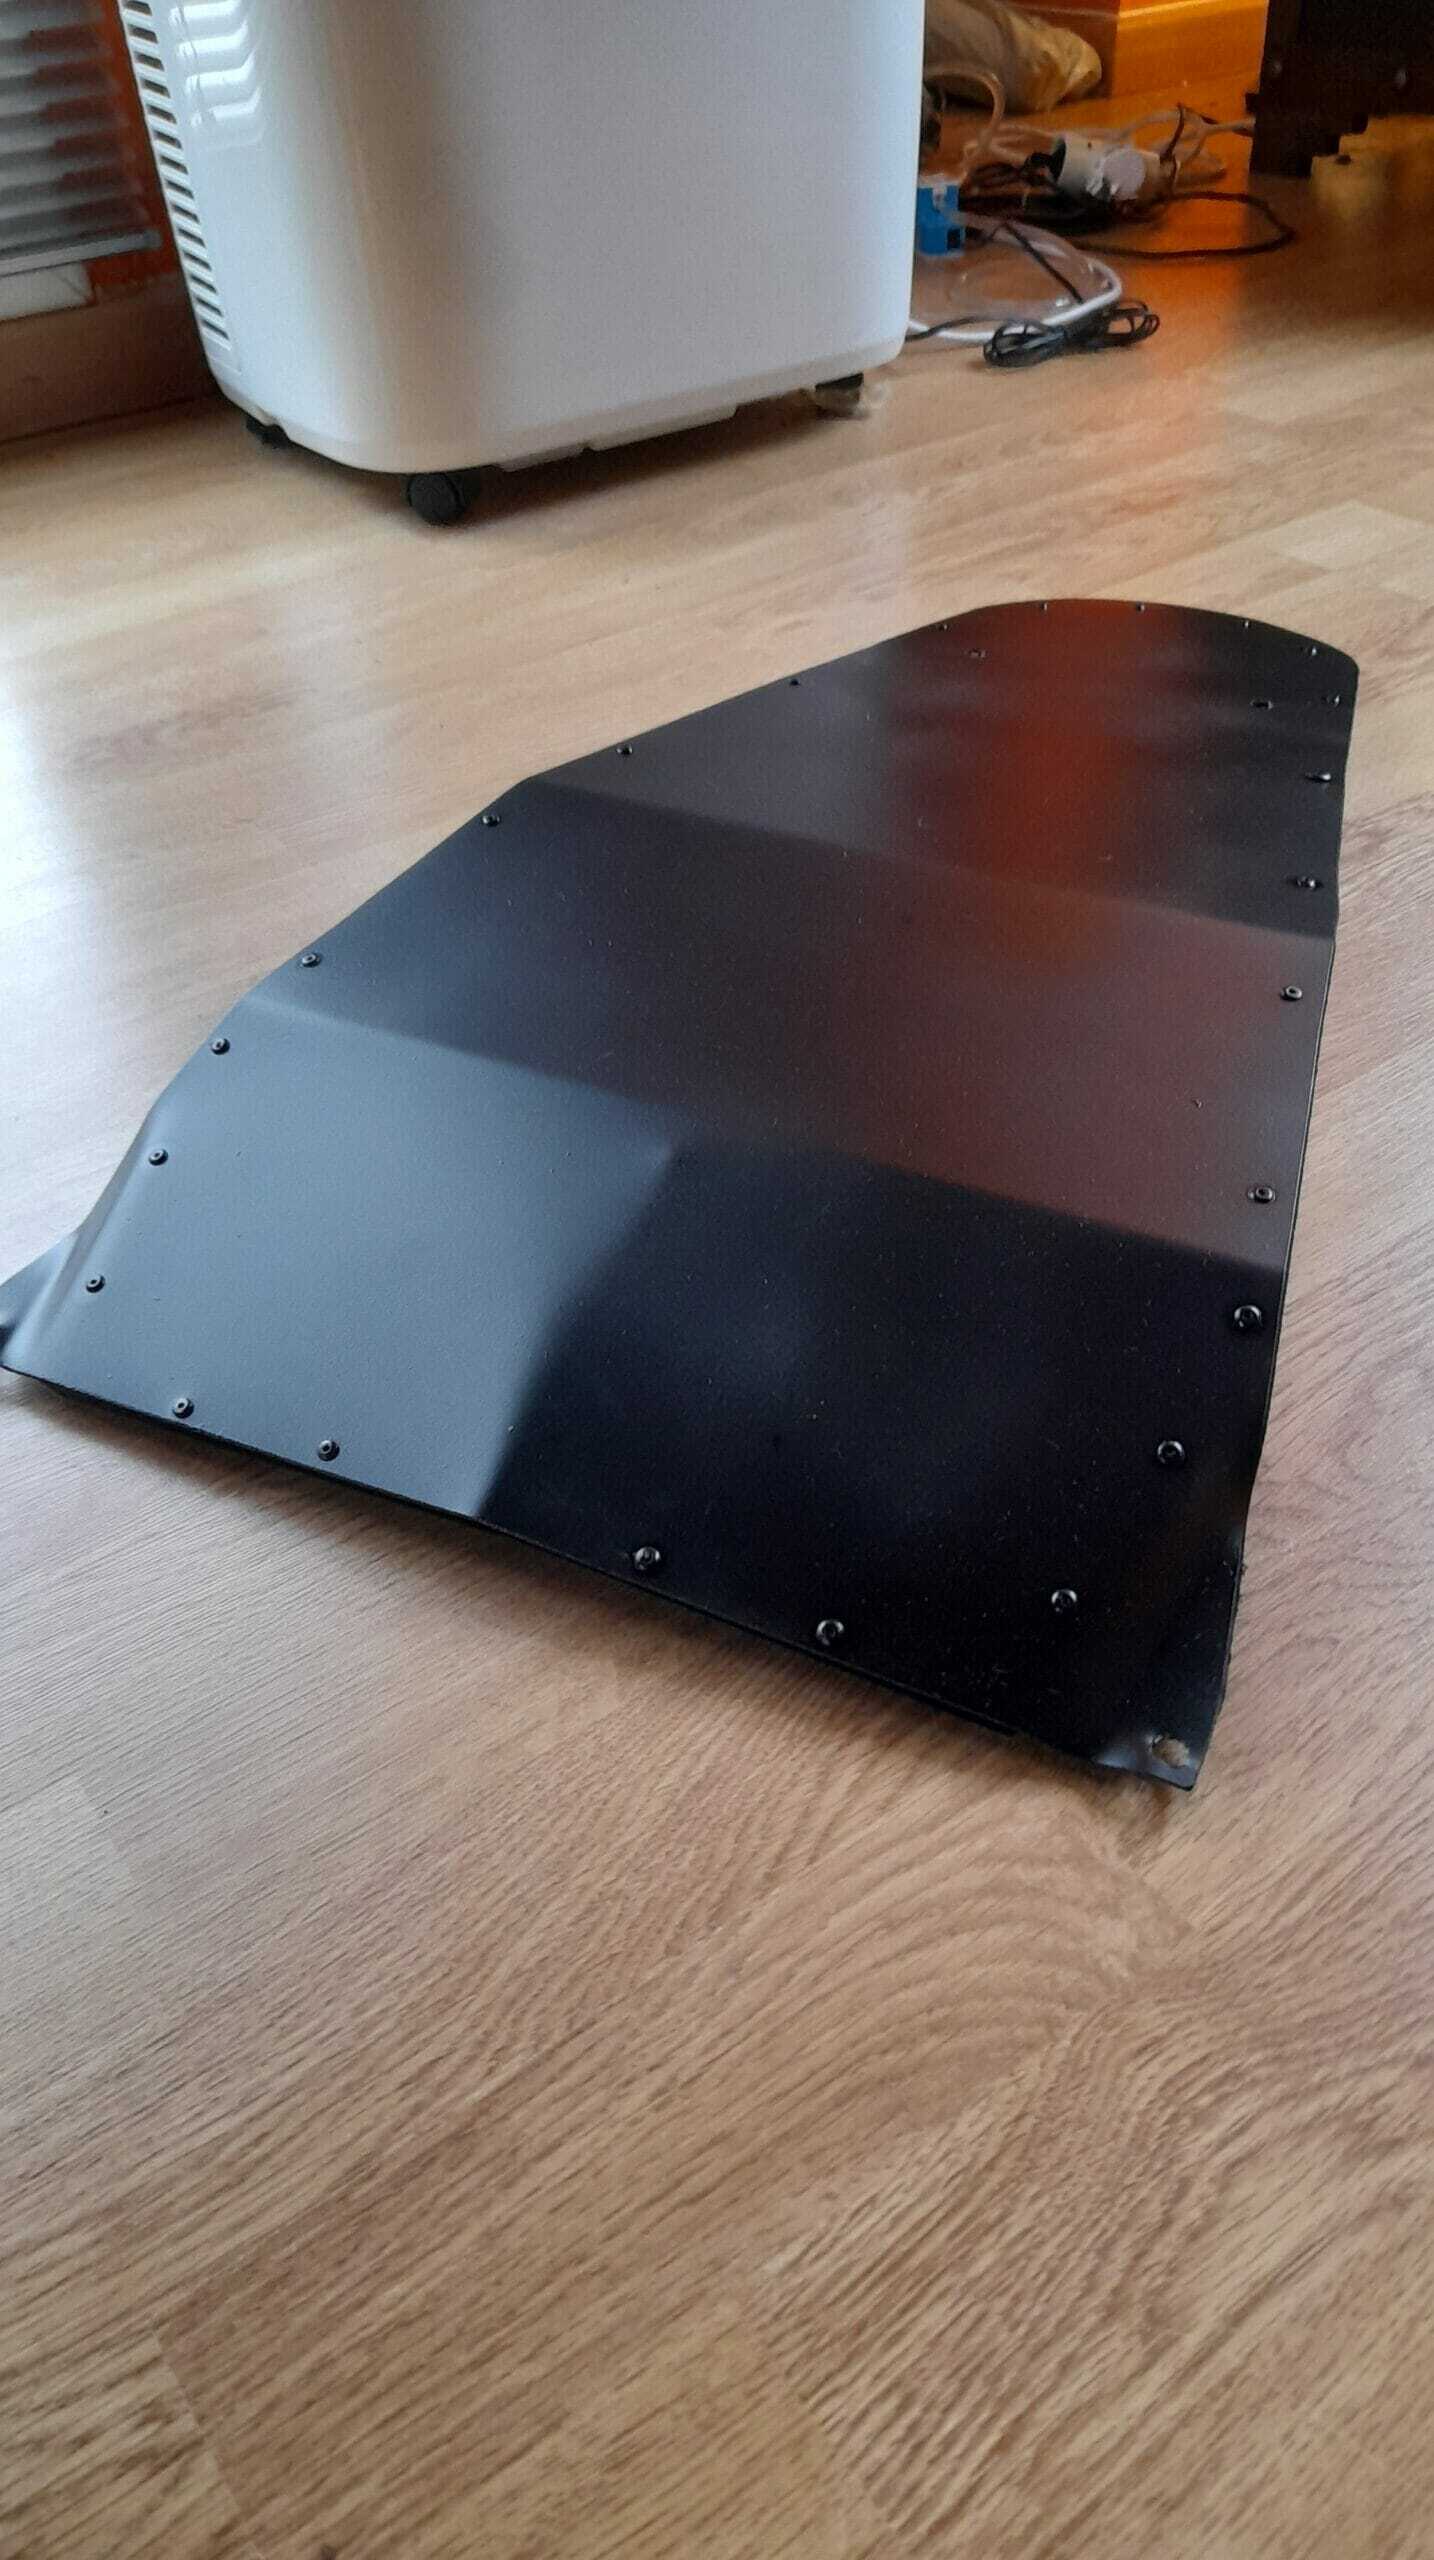
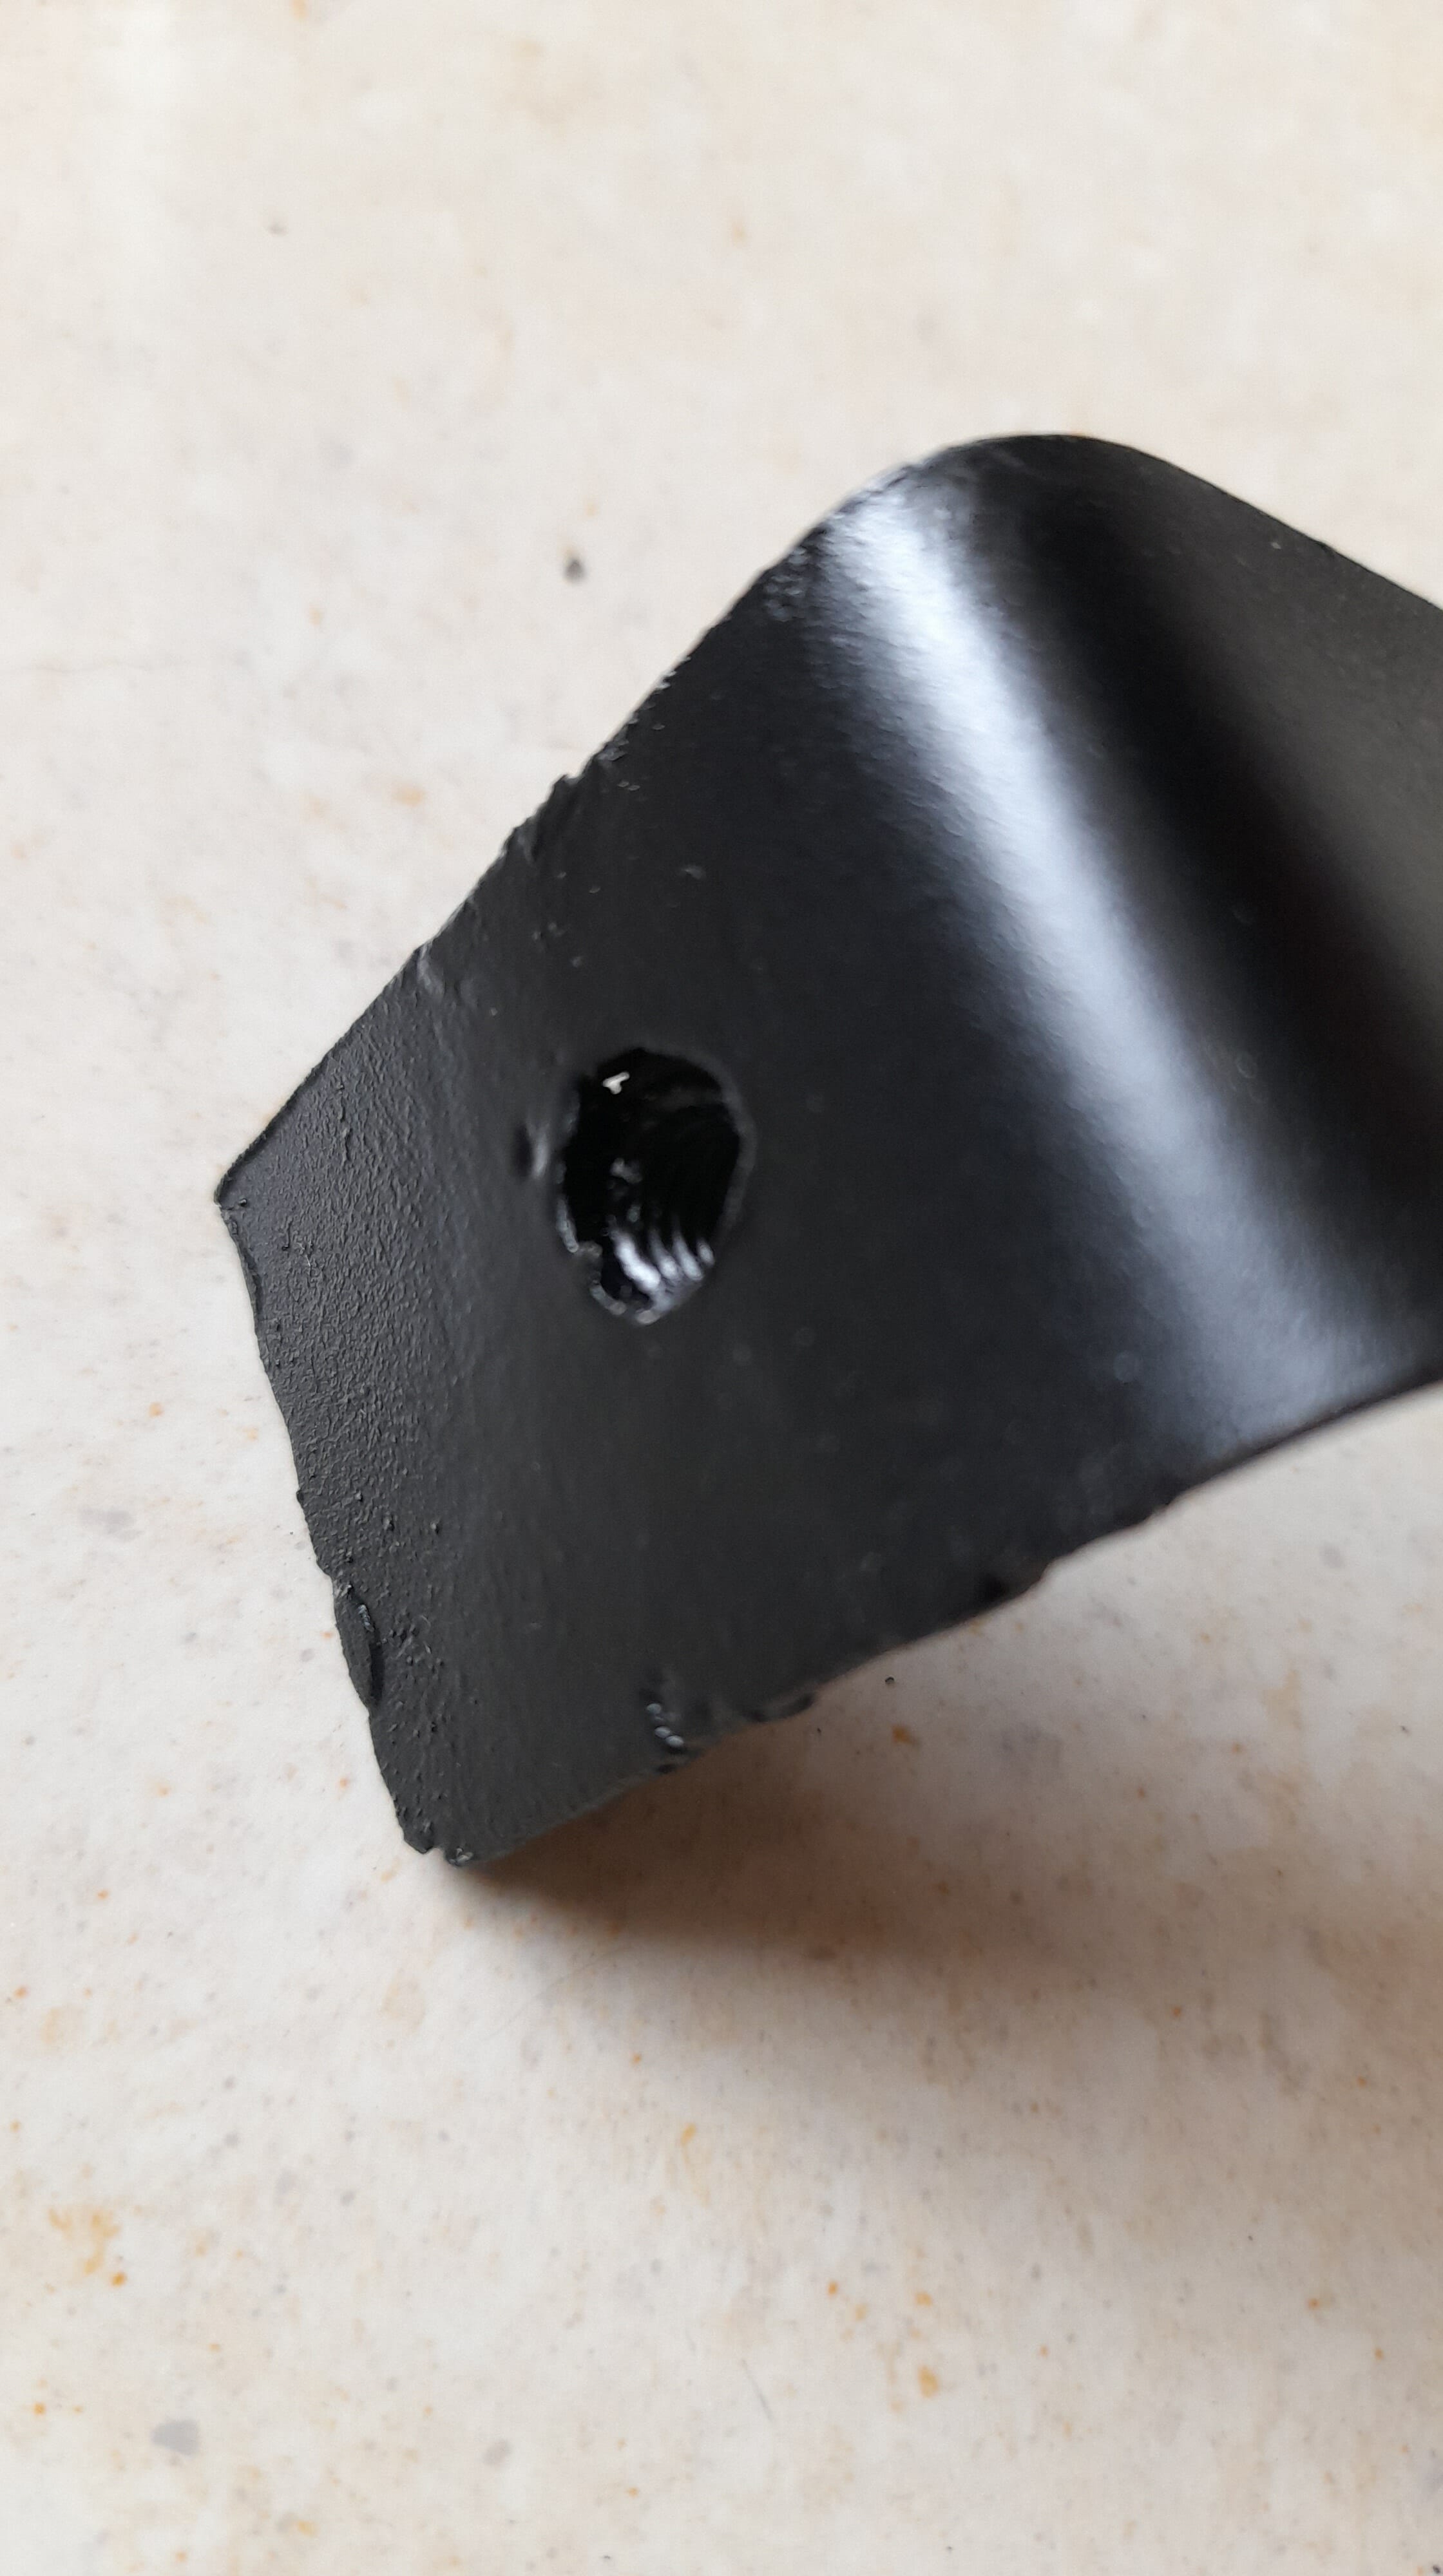
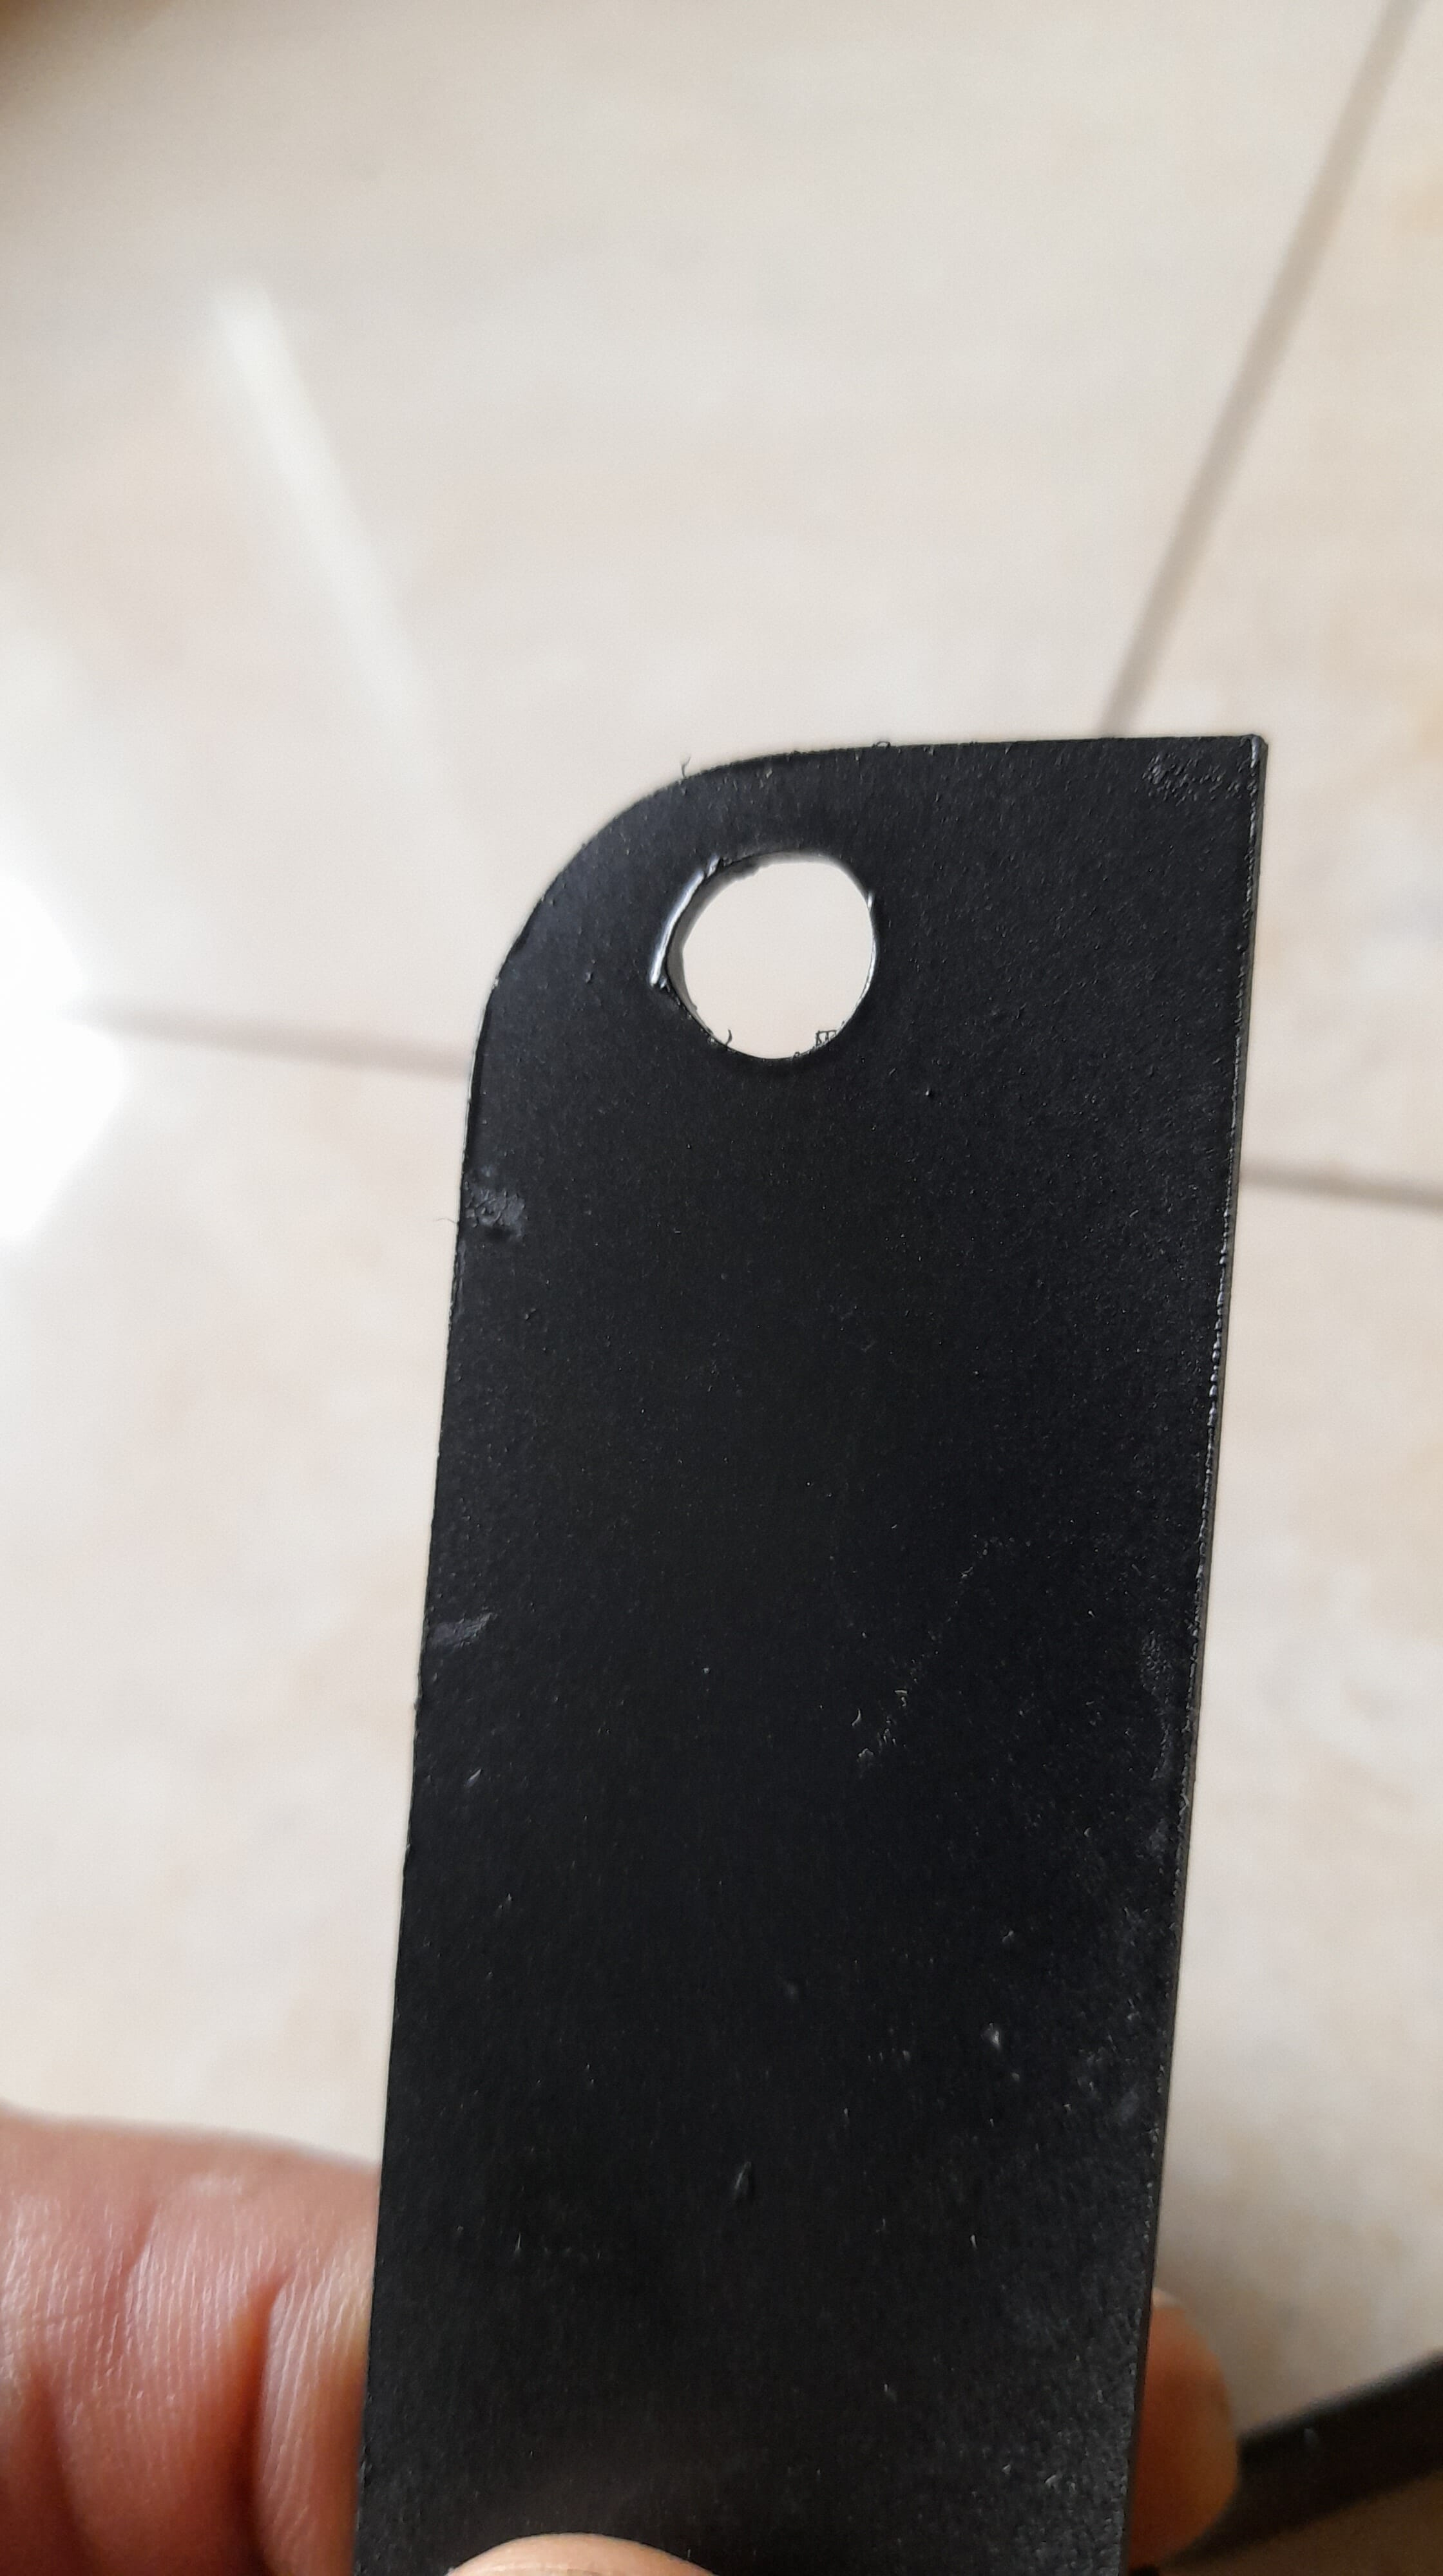
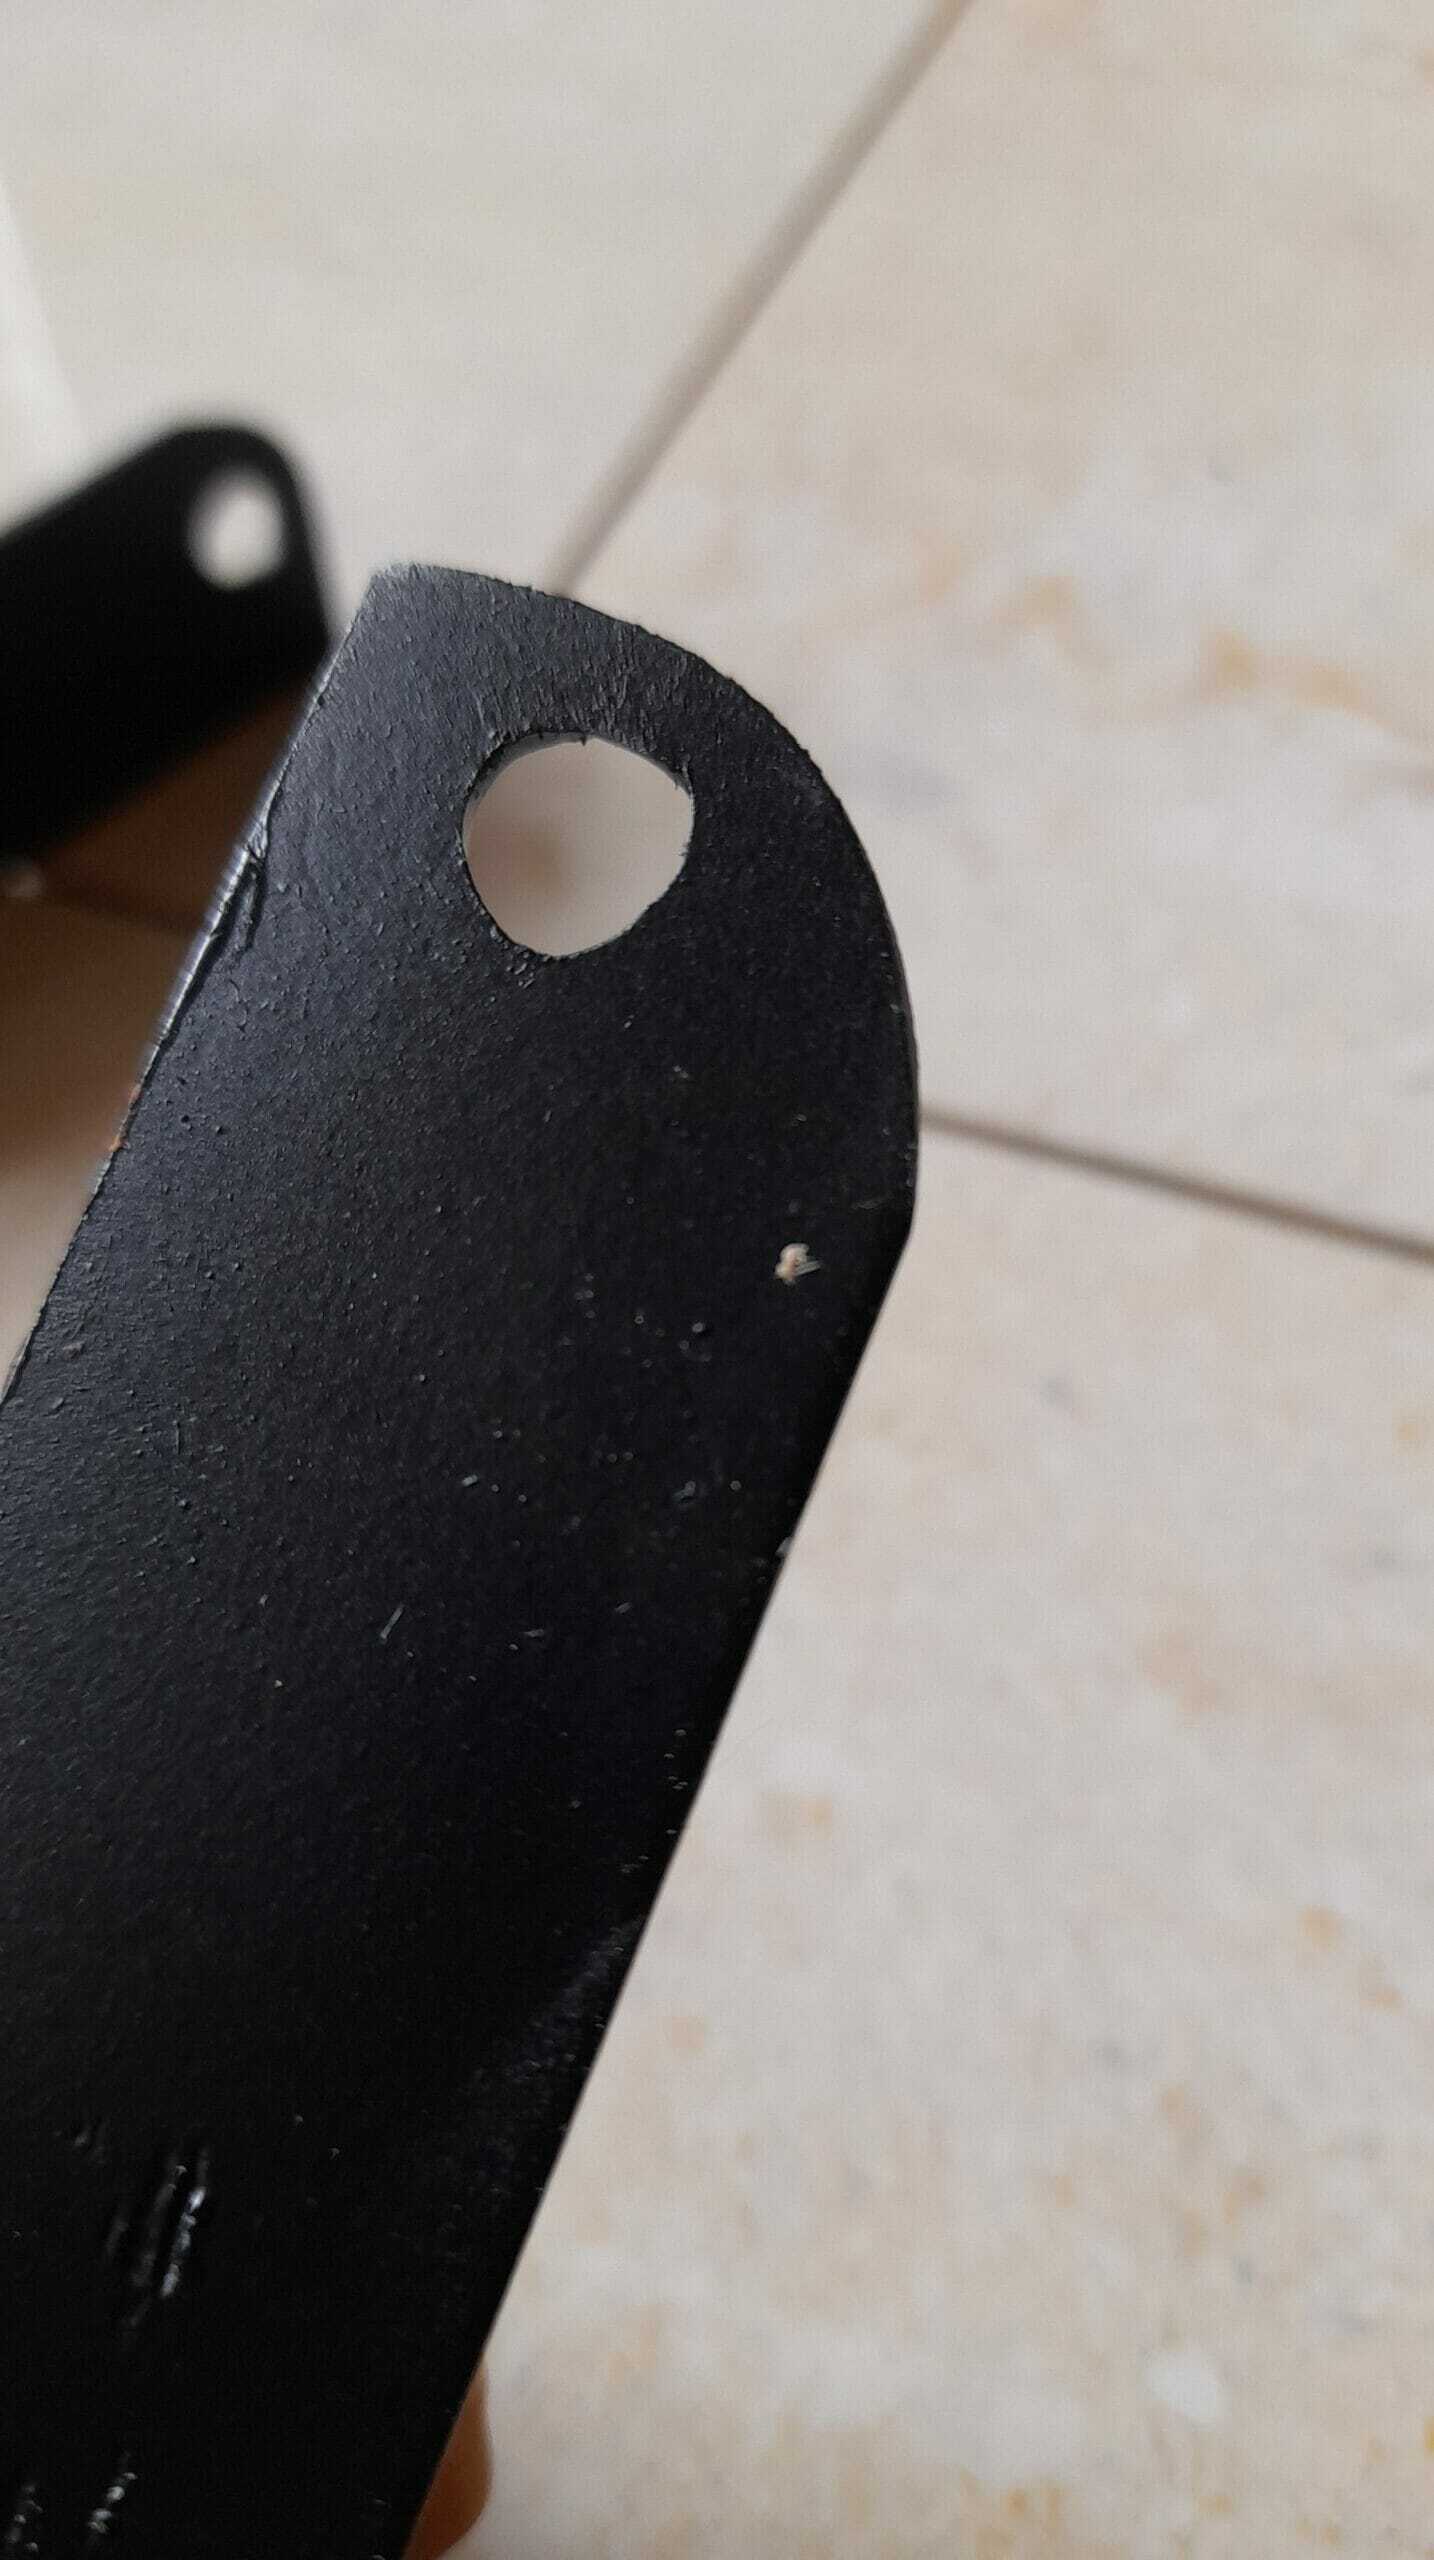
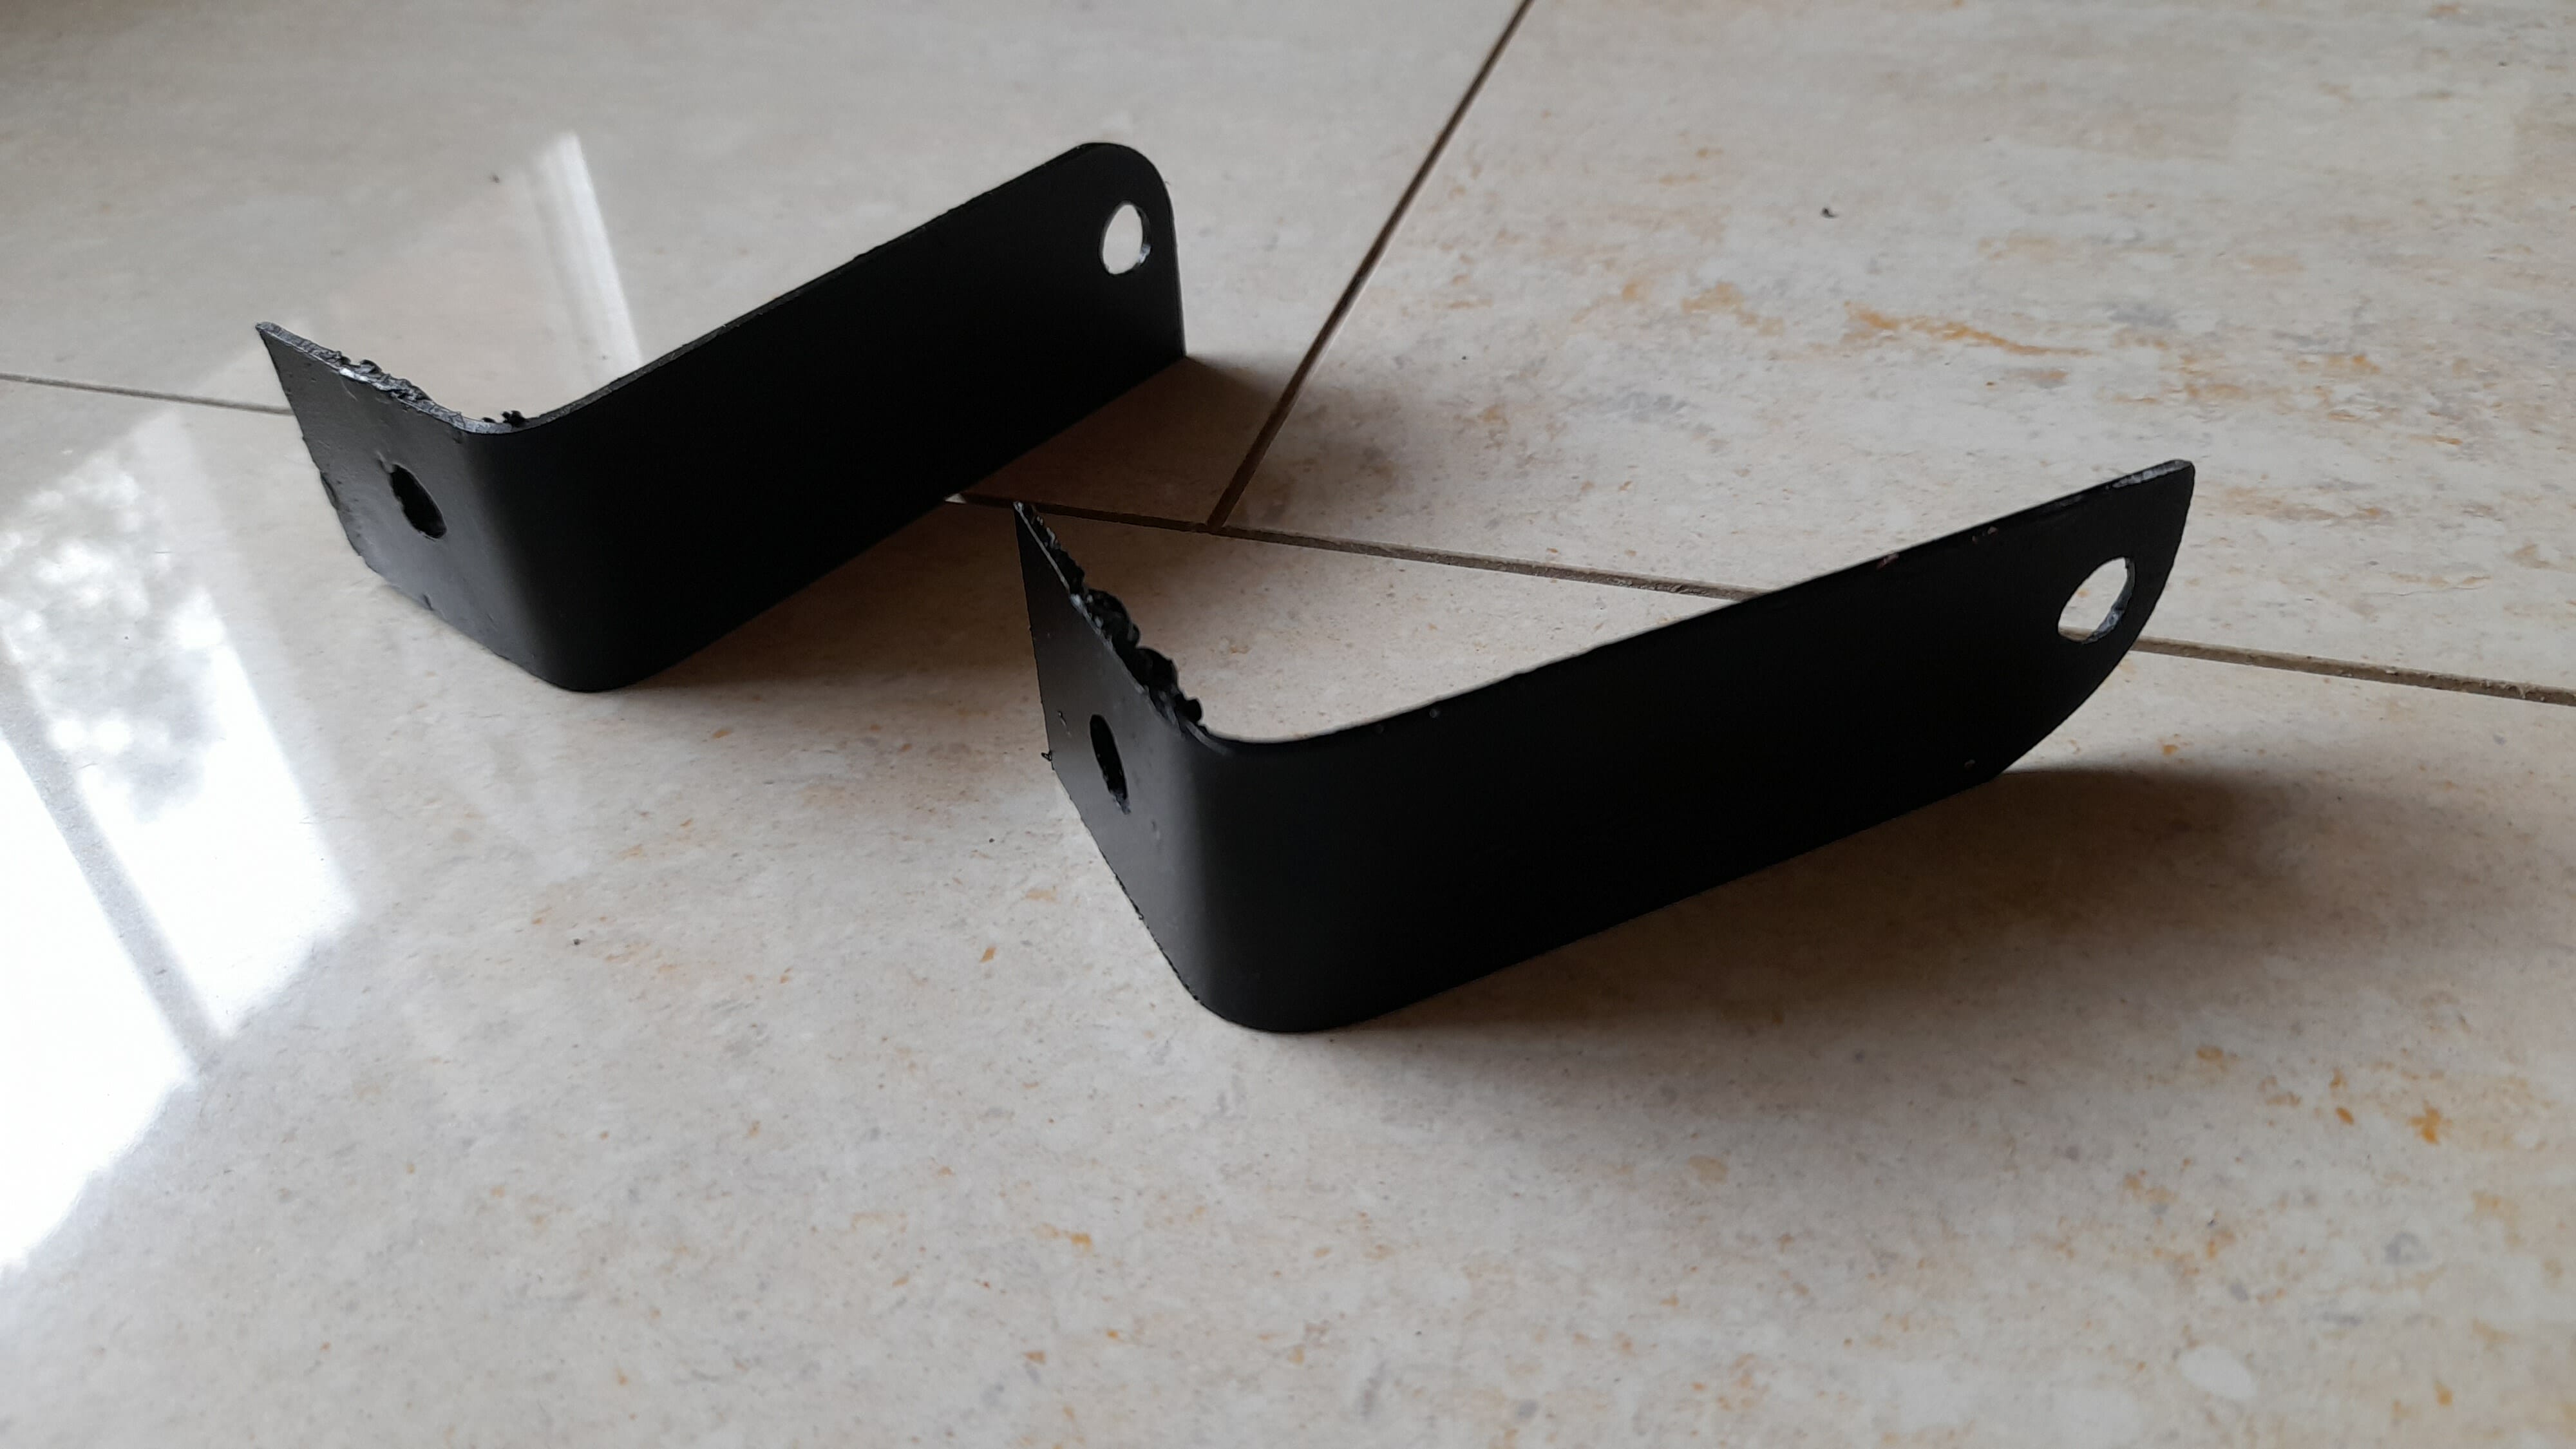
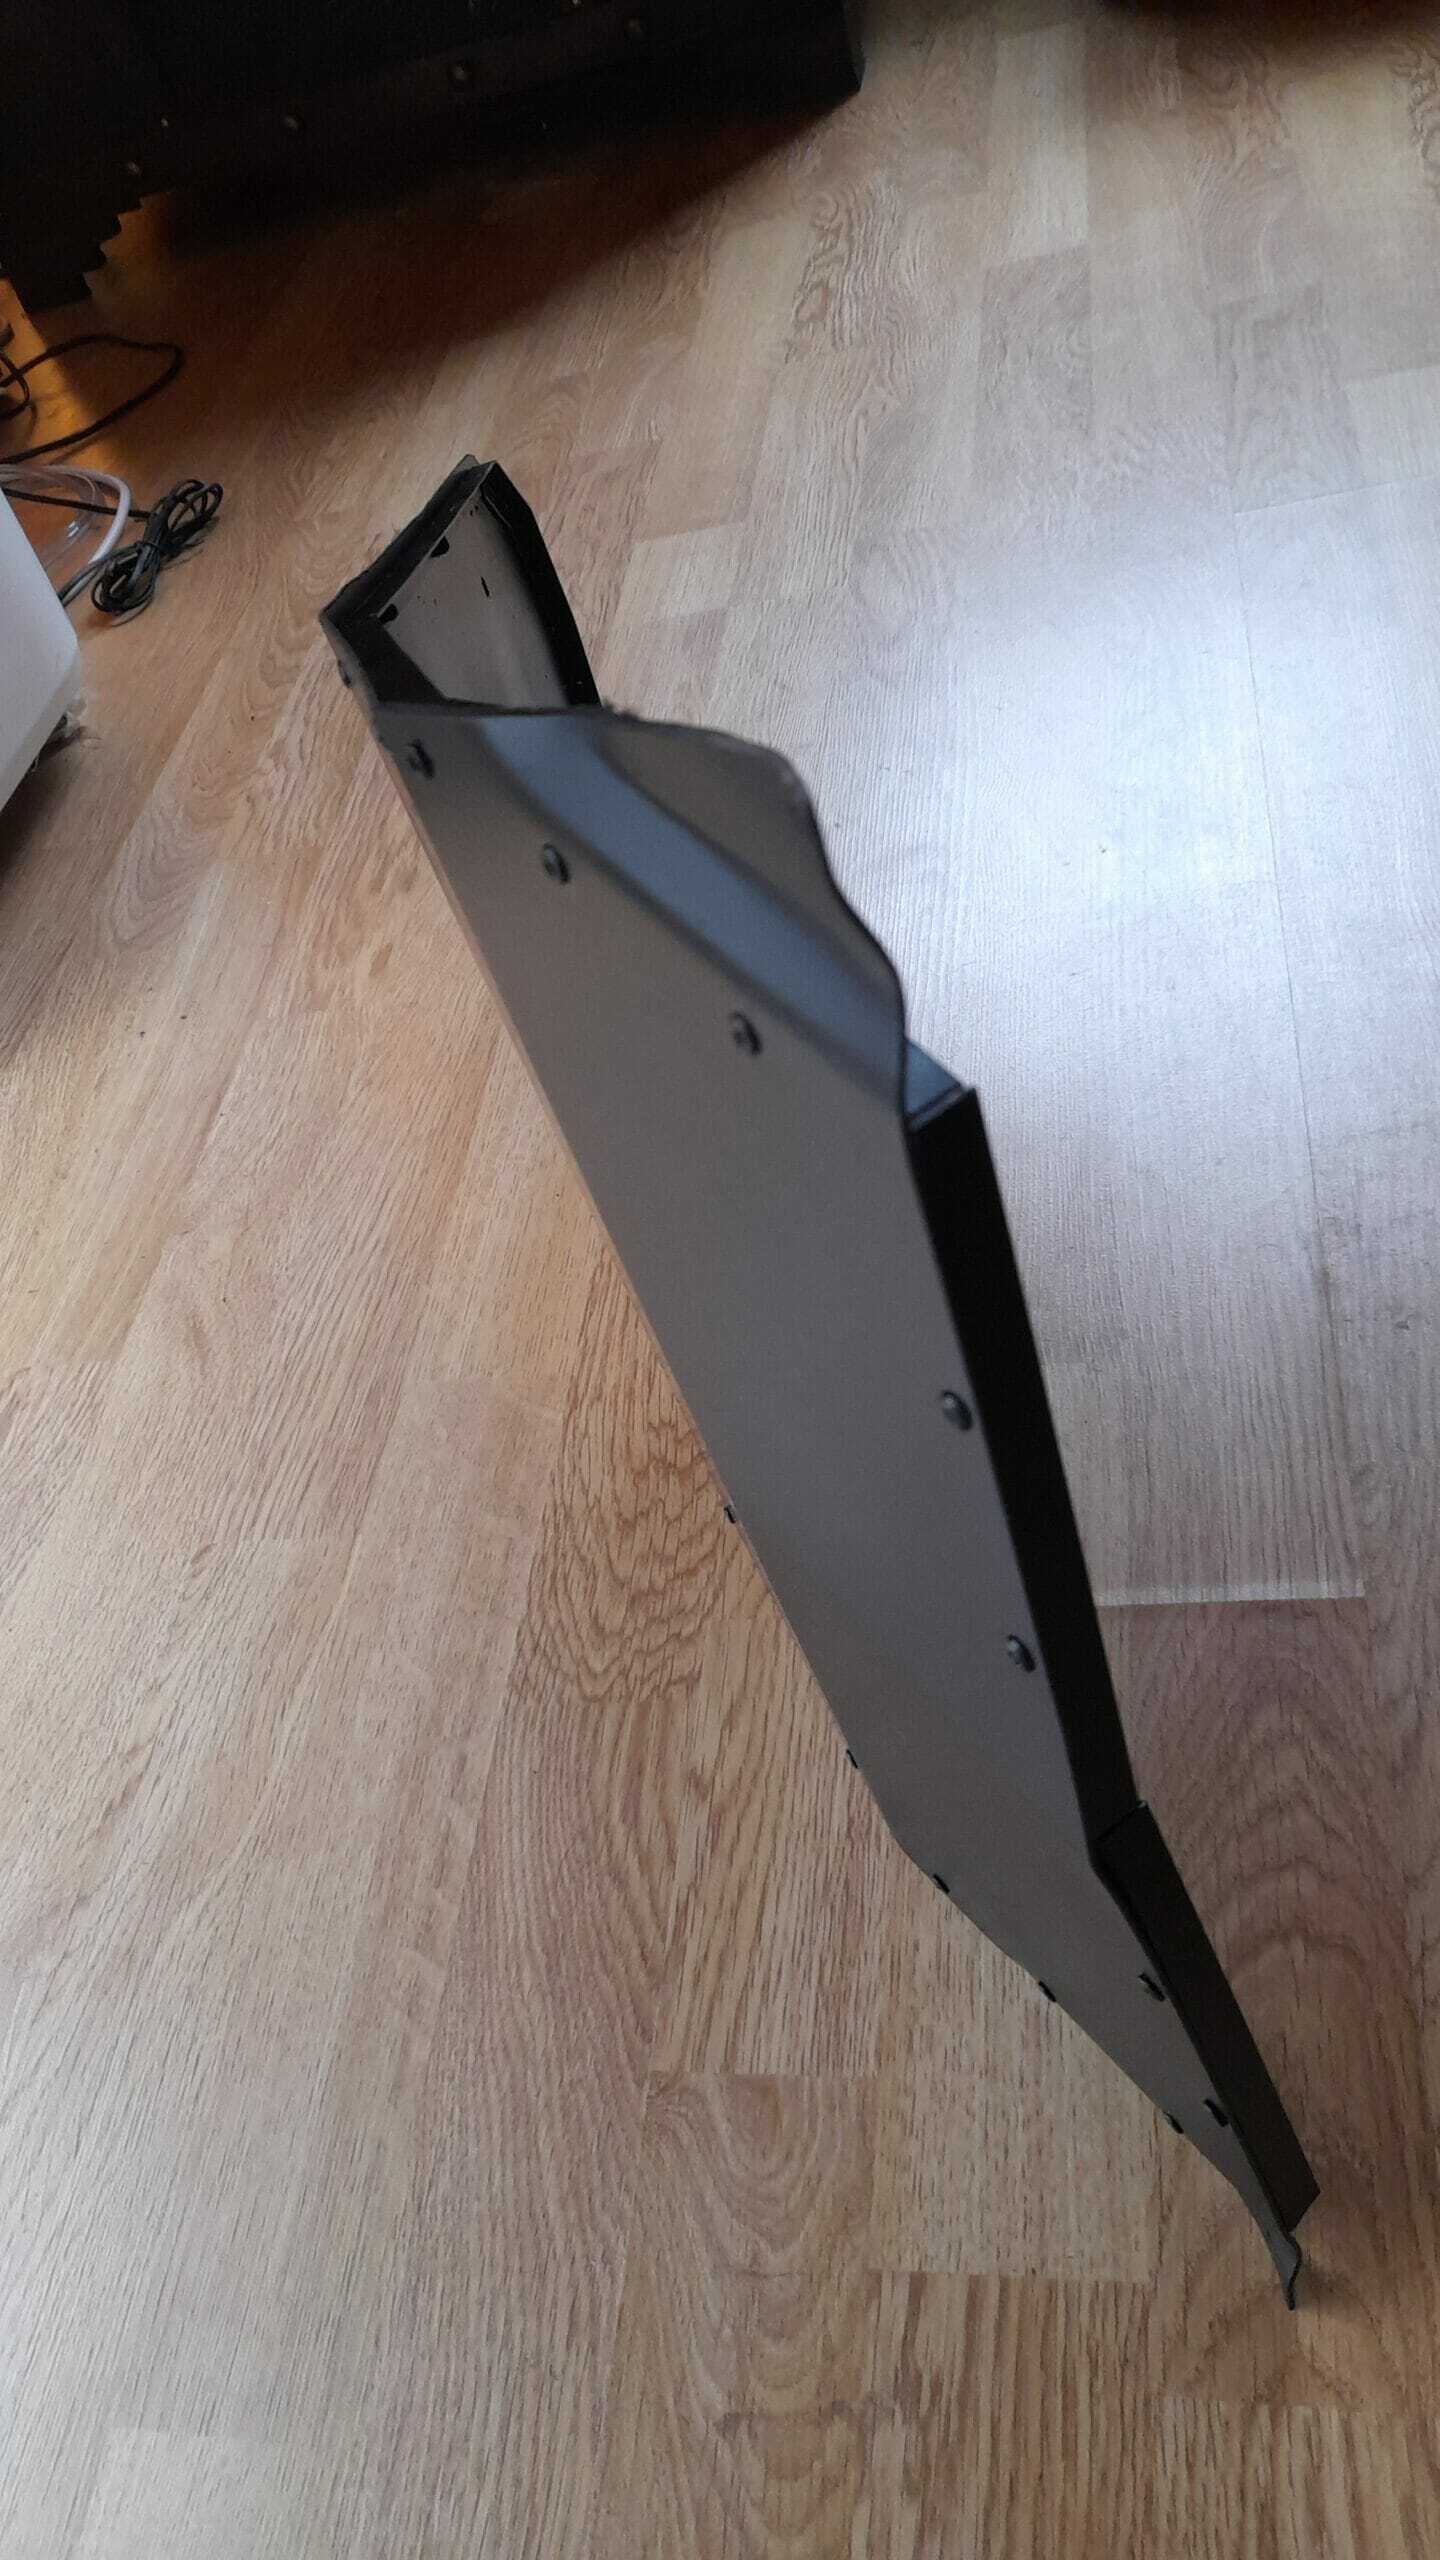
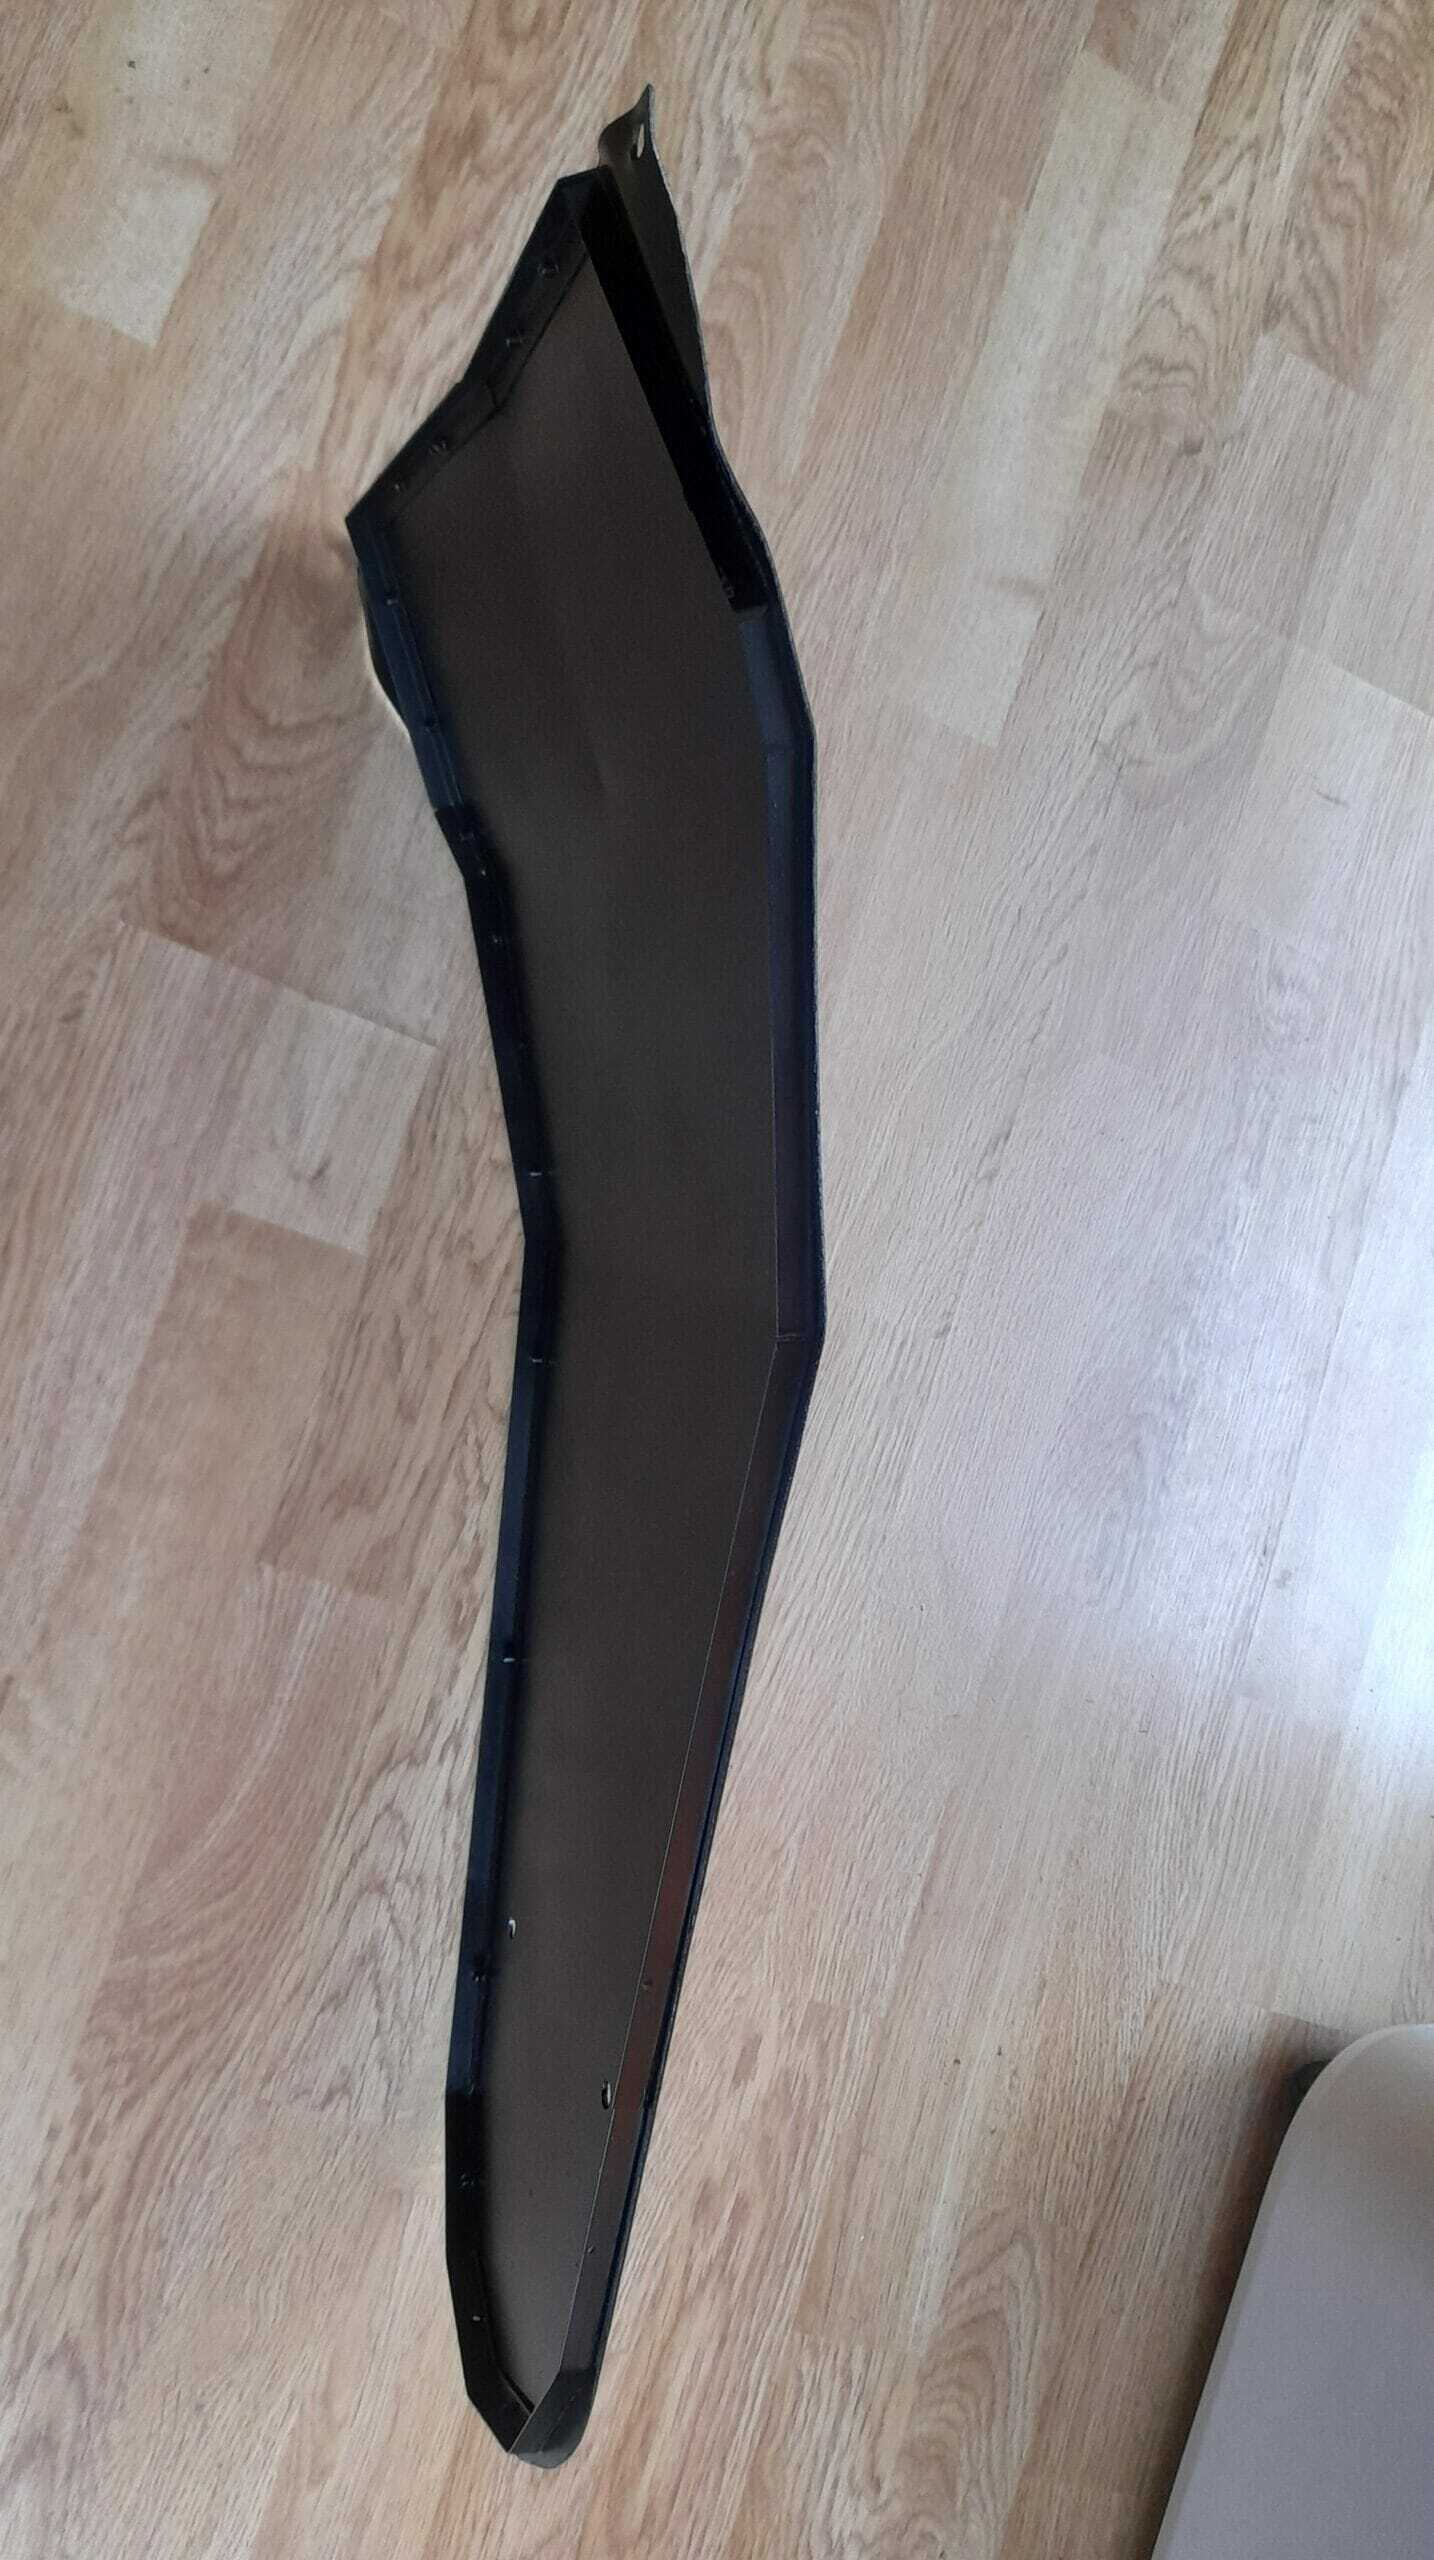
Photo gallery phase 5
This is the image gallery of the painting phase. You can click on each of the photos to see the description. As always, if you have any questions or doubts, you can contact us and we will be happy to answer and help you.
Painting: some small recommendations
For the painting issue, I give you some suggestions that may help you:
- If you have the opportunity, spray paint. For this job you don’t need a big compressor, and a compressor will always be useful for more tools. Once you have practice, even a cheap model will work for these small jobs. As I also said, a spray is a technically valid option.
- If you can’t use a spray gun or spray, a paint roller is also a good option. It is the simplest option and with a little practice you can achieve very good finishes in this type of pieces.
- Whatever paint you finally use, I suggest you use one that has a satin finish. It is the finish that most closely resembles the original car parts of engine parts, suspensions, springs, etc. So if you paint in satin, the installation will look much more professional and integrated in the underbody of the car. In addition, it will disguise much more the flaws in case you make a small mistake when painting.
- The primer I was telling you about(Bessier Todo Terreno) is available in white and black. We mix them to obtain a gray primer. This color is neutral enough so that it does not “peek out” from under the final color and contrasted enough so that you can see where you are going at all times when you paint the final finish.
- Titanlak paint is very, very hard when dry. But he doesn’t “like” rushing. In cold/humid environments it takes a long time to dry. Even when it is dry to the touch, in my experience, it takes at least 4 days to acquire full hardness. I would therefore recommend waiting this time before installing the iron to avoid scratching it during handling.